
Introduction:
Juniper vSRX is a virtualized version of SRX, which is a popular choice for network security. In this short post I will explain the steps to spin up a vSRX on a Proxmox server.
0. Prerequisite
- This guide assumes you have a working Proxmox VE
- You will also need a vSRX image (qcow2) - it can be downloaded from Juniper Networks website. Juniper also offers evaluation programs that allows to test and assess their products, such as vSRX, vMX and vQFX with a trial period.
1. Copy vSRX image
After downloading a vSRX image in QEMU format (.qcow2), first thing we need to do is to copy vSRX image from the local PC to proxmox server
1

scp junos-vsrx3-x86-64-20.2R1.10.qcow2 [email protected]:/var/tmp

2. Create VM
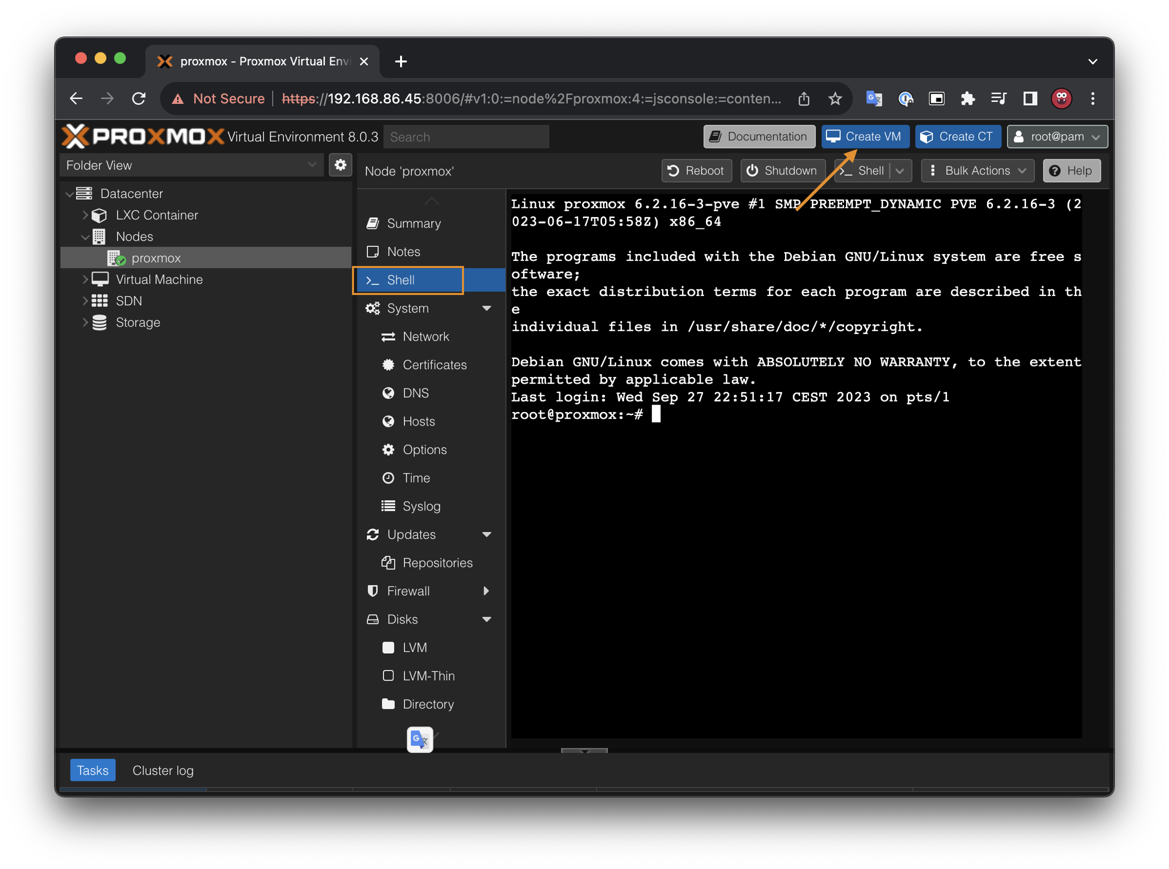
Login to Proxmox server and check the image is copied over. You can access shell from the Proxmox GUI.

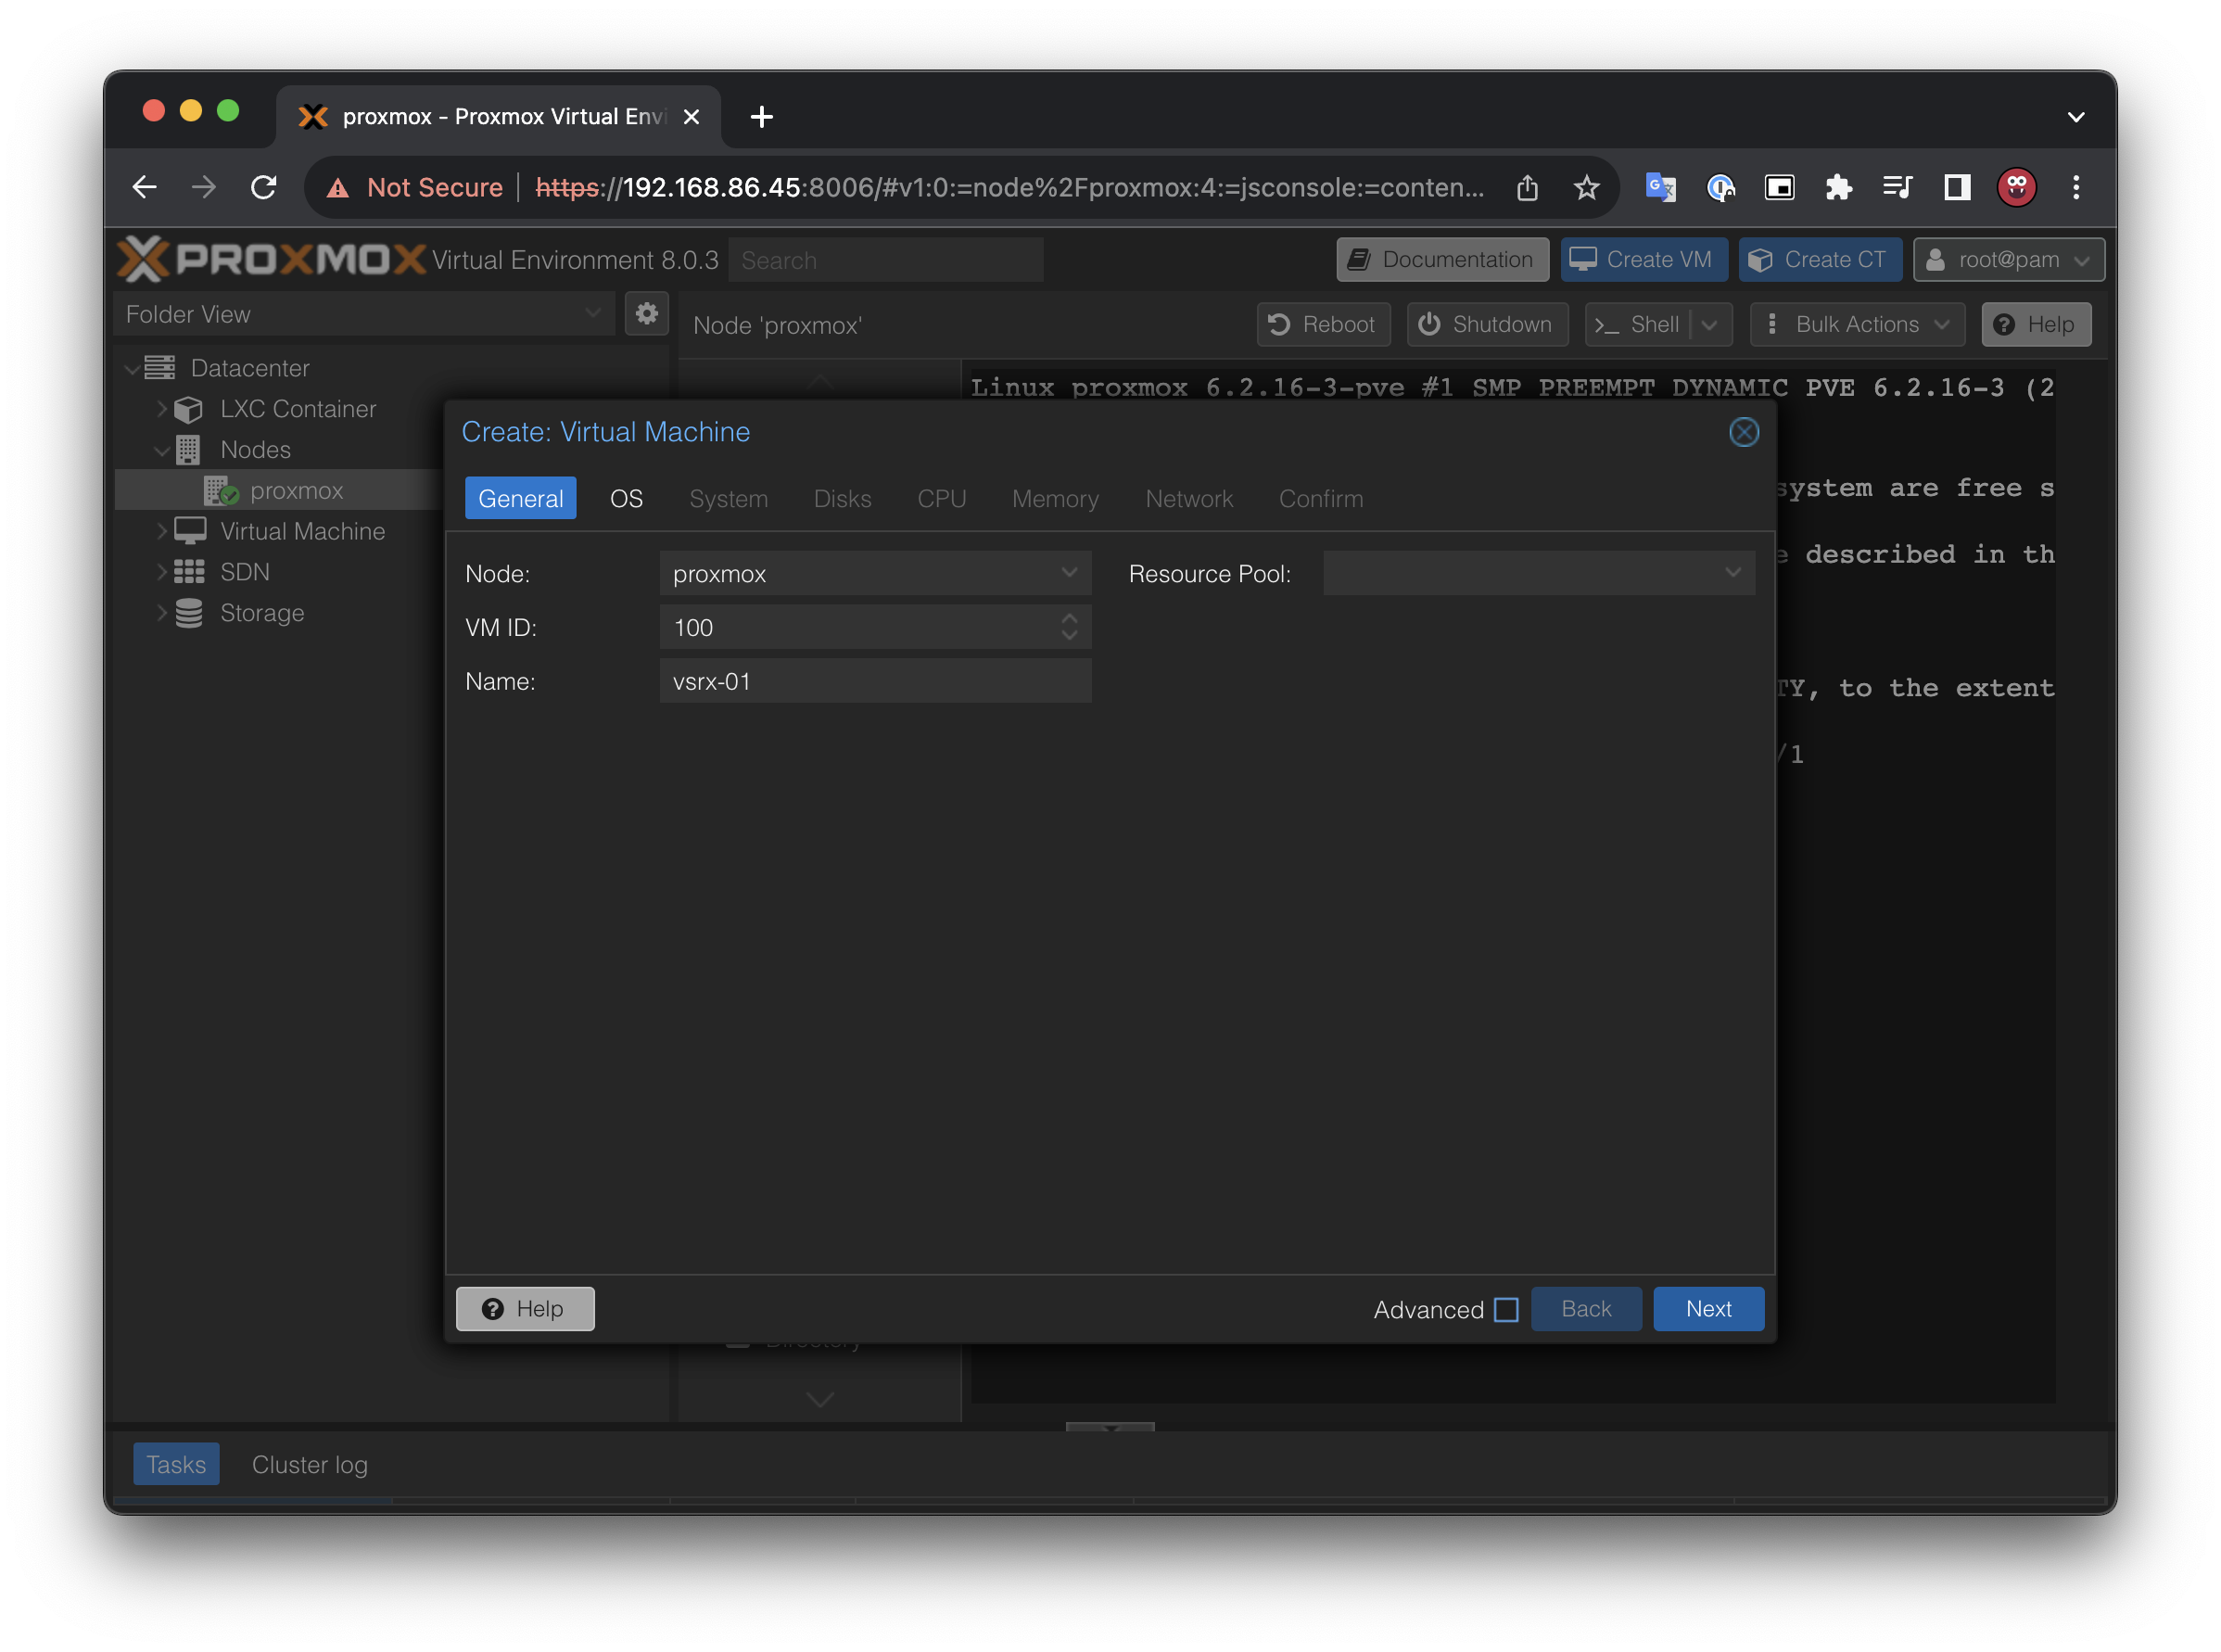
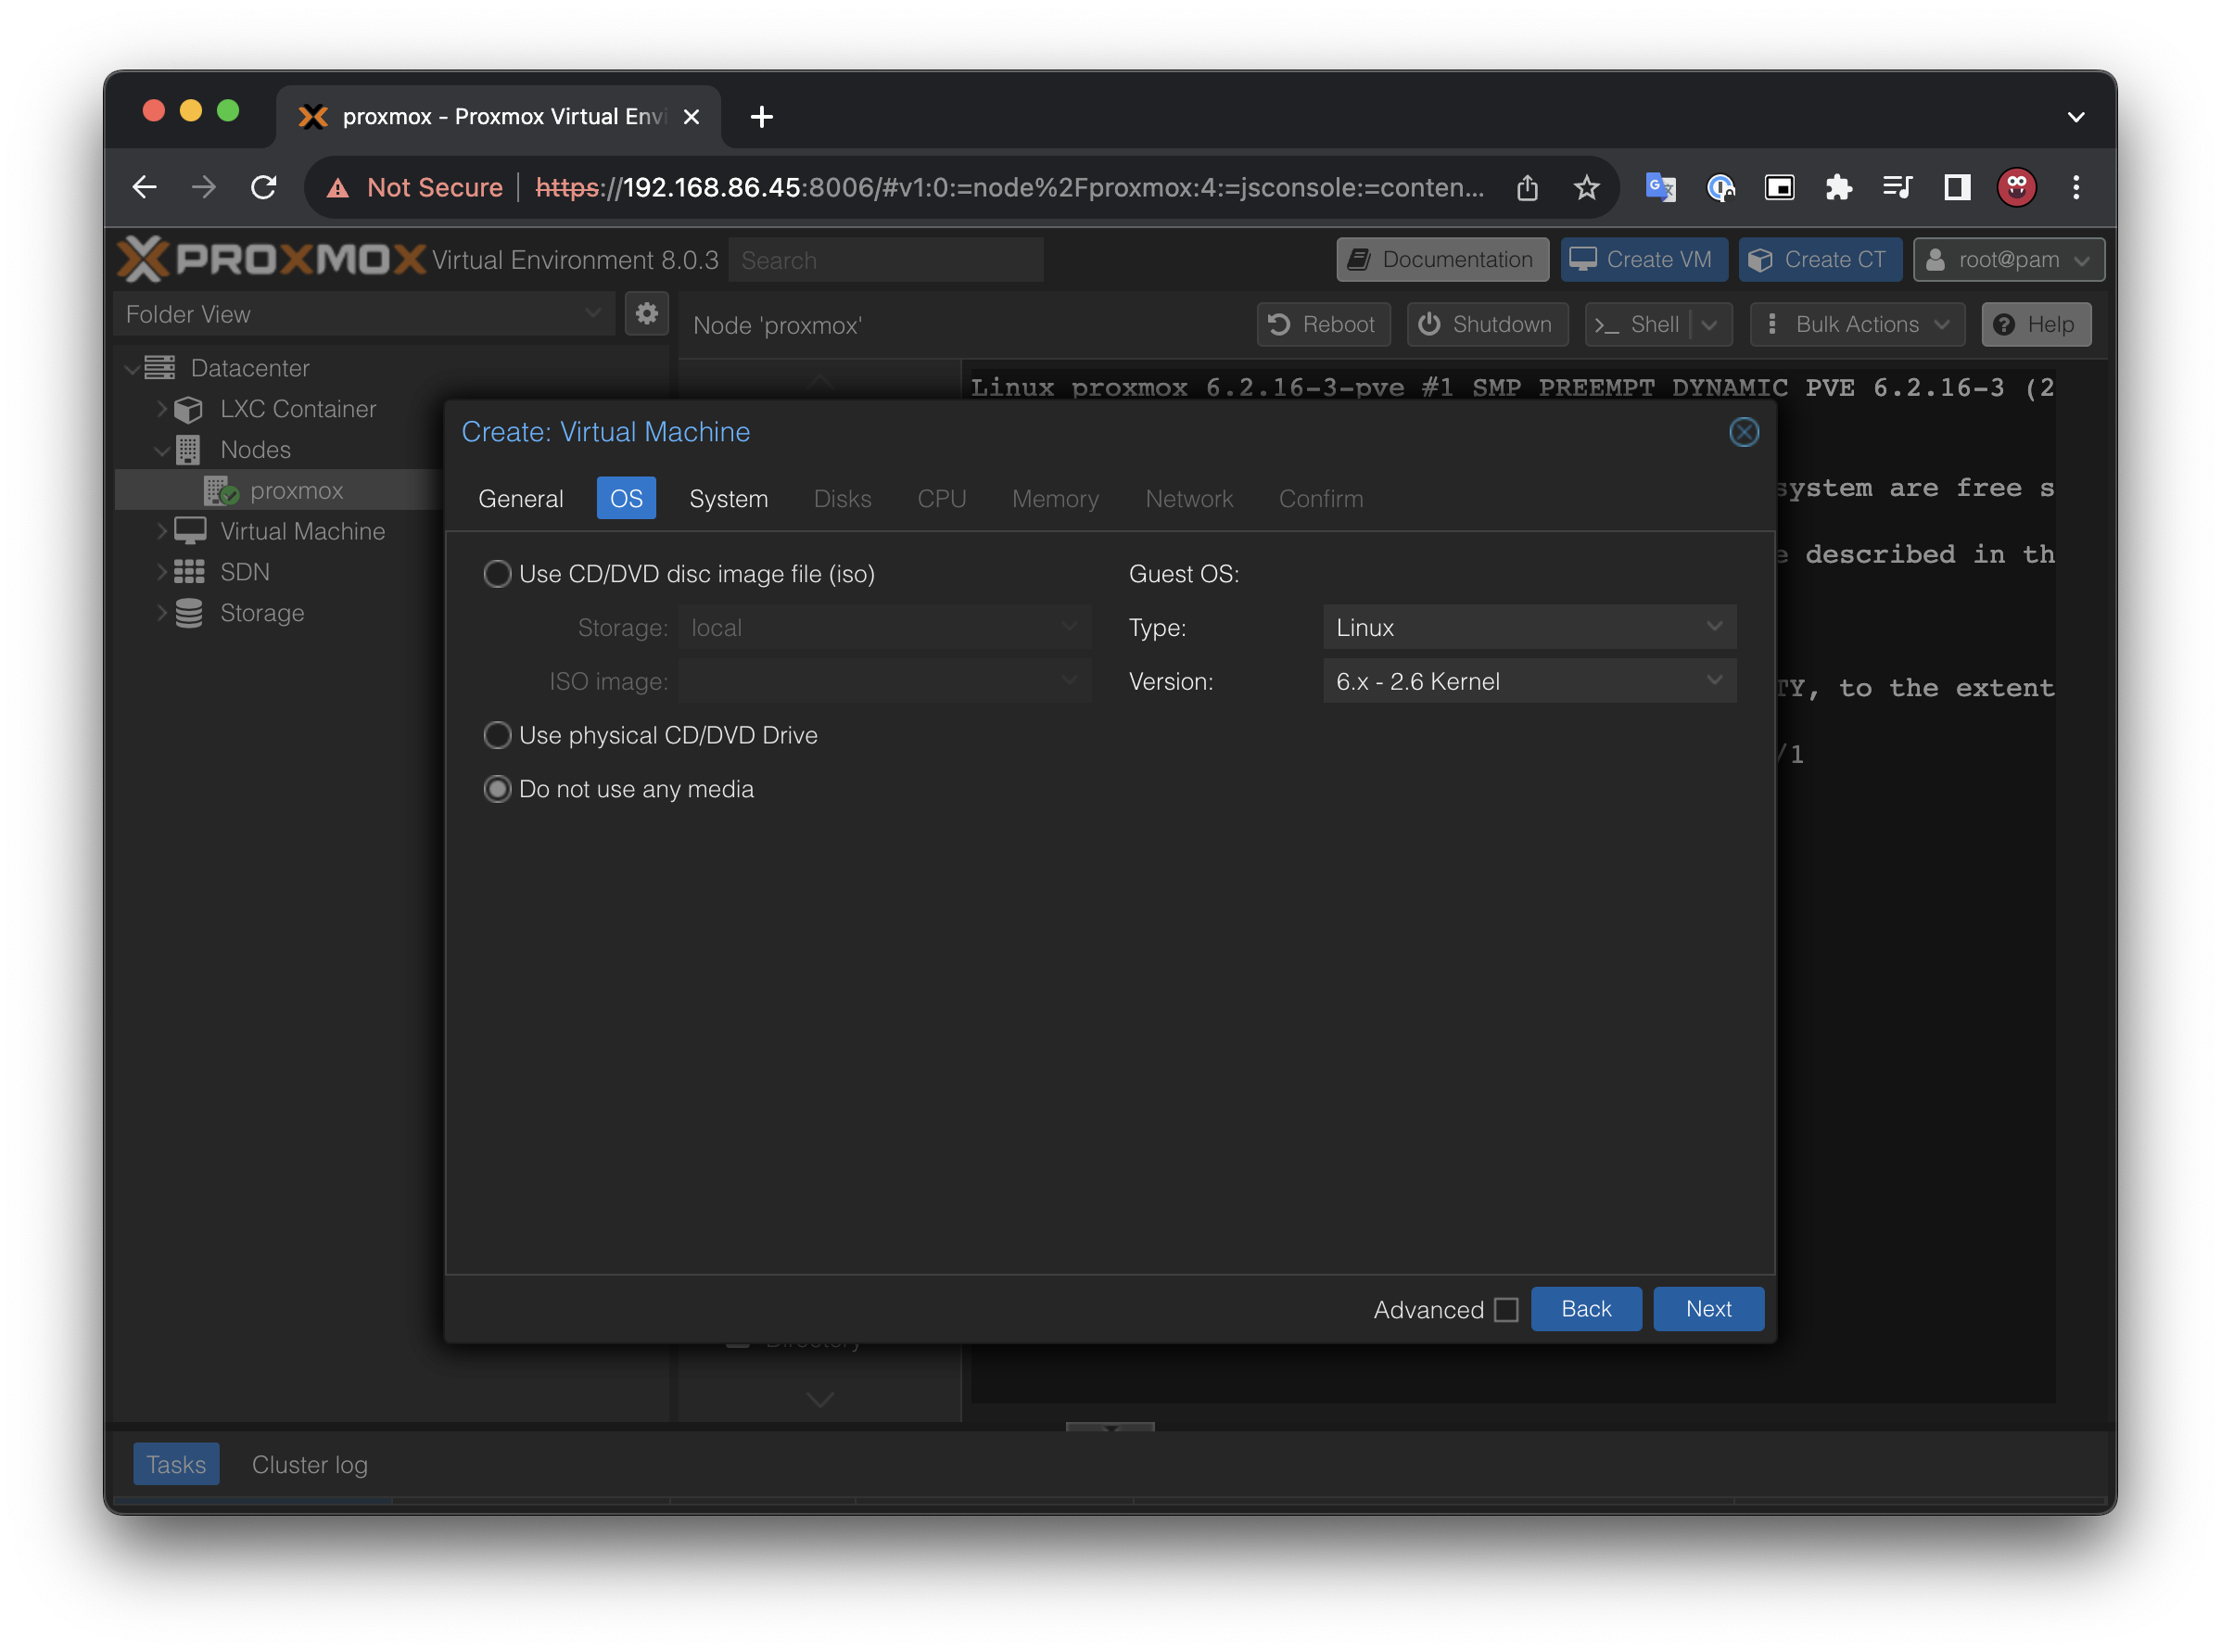
Click “Create VM” and configure the VM
1
2
3
4
5

General->Name:    Name for the VM
OS:               "Do not use any media"
OS -> Guest OS:   Linux
СPU -> Cores:     2
Memory:           4096
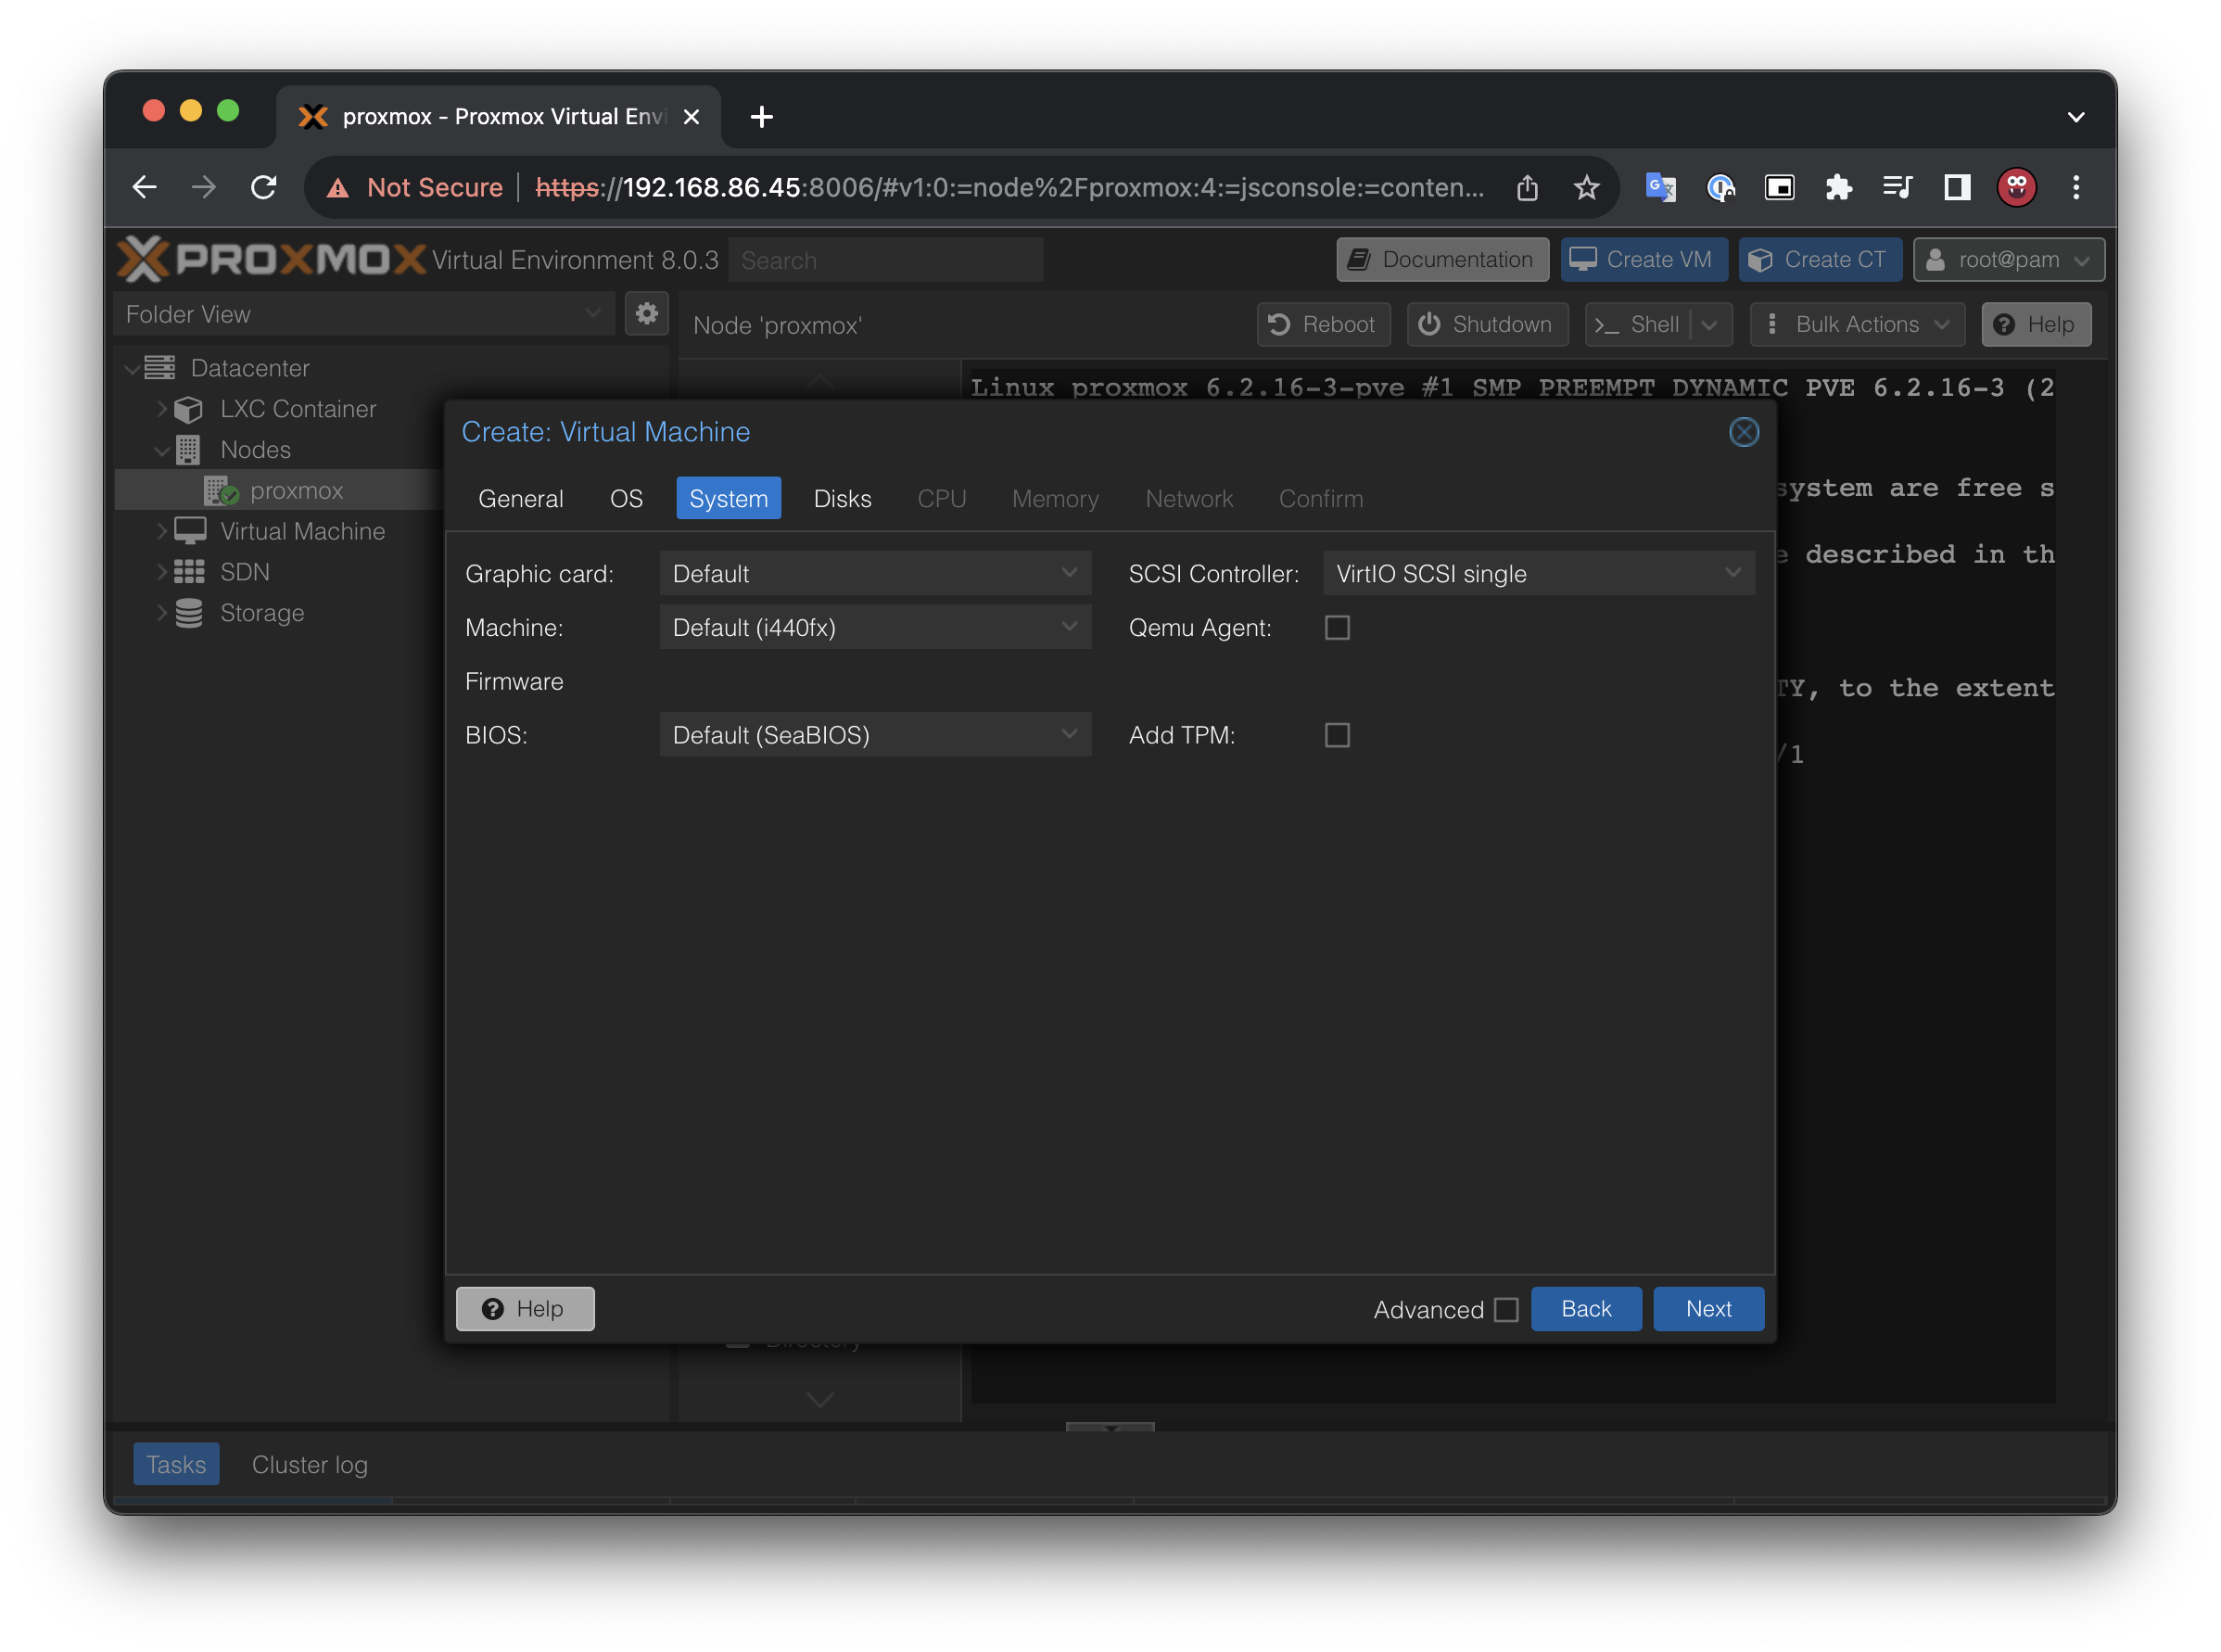
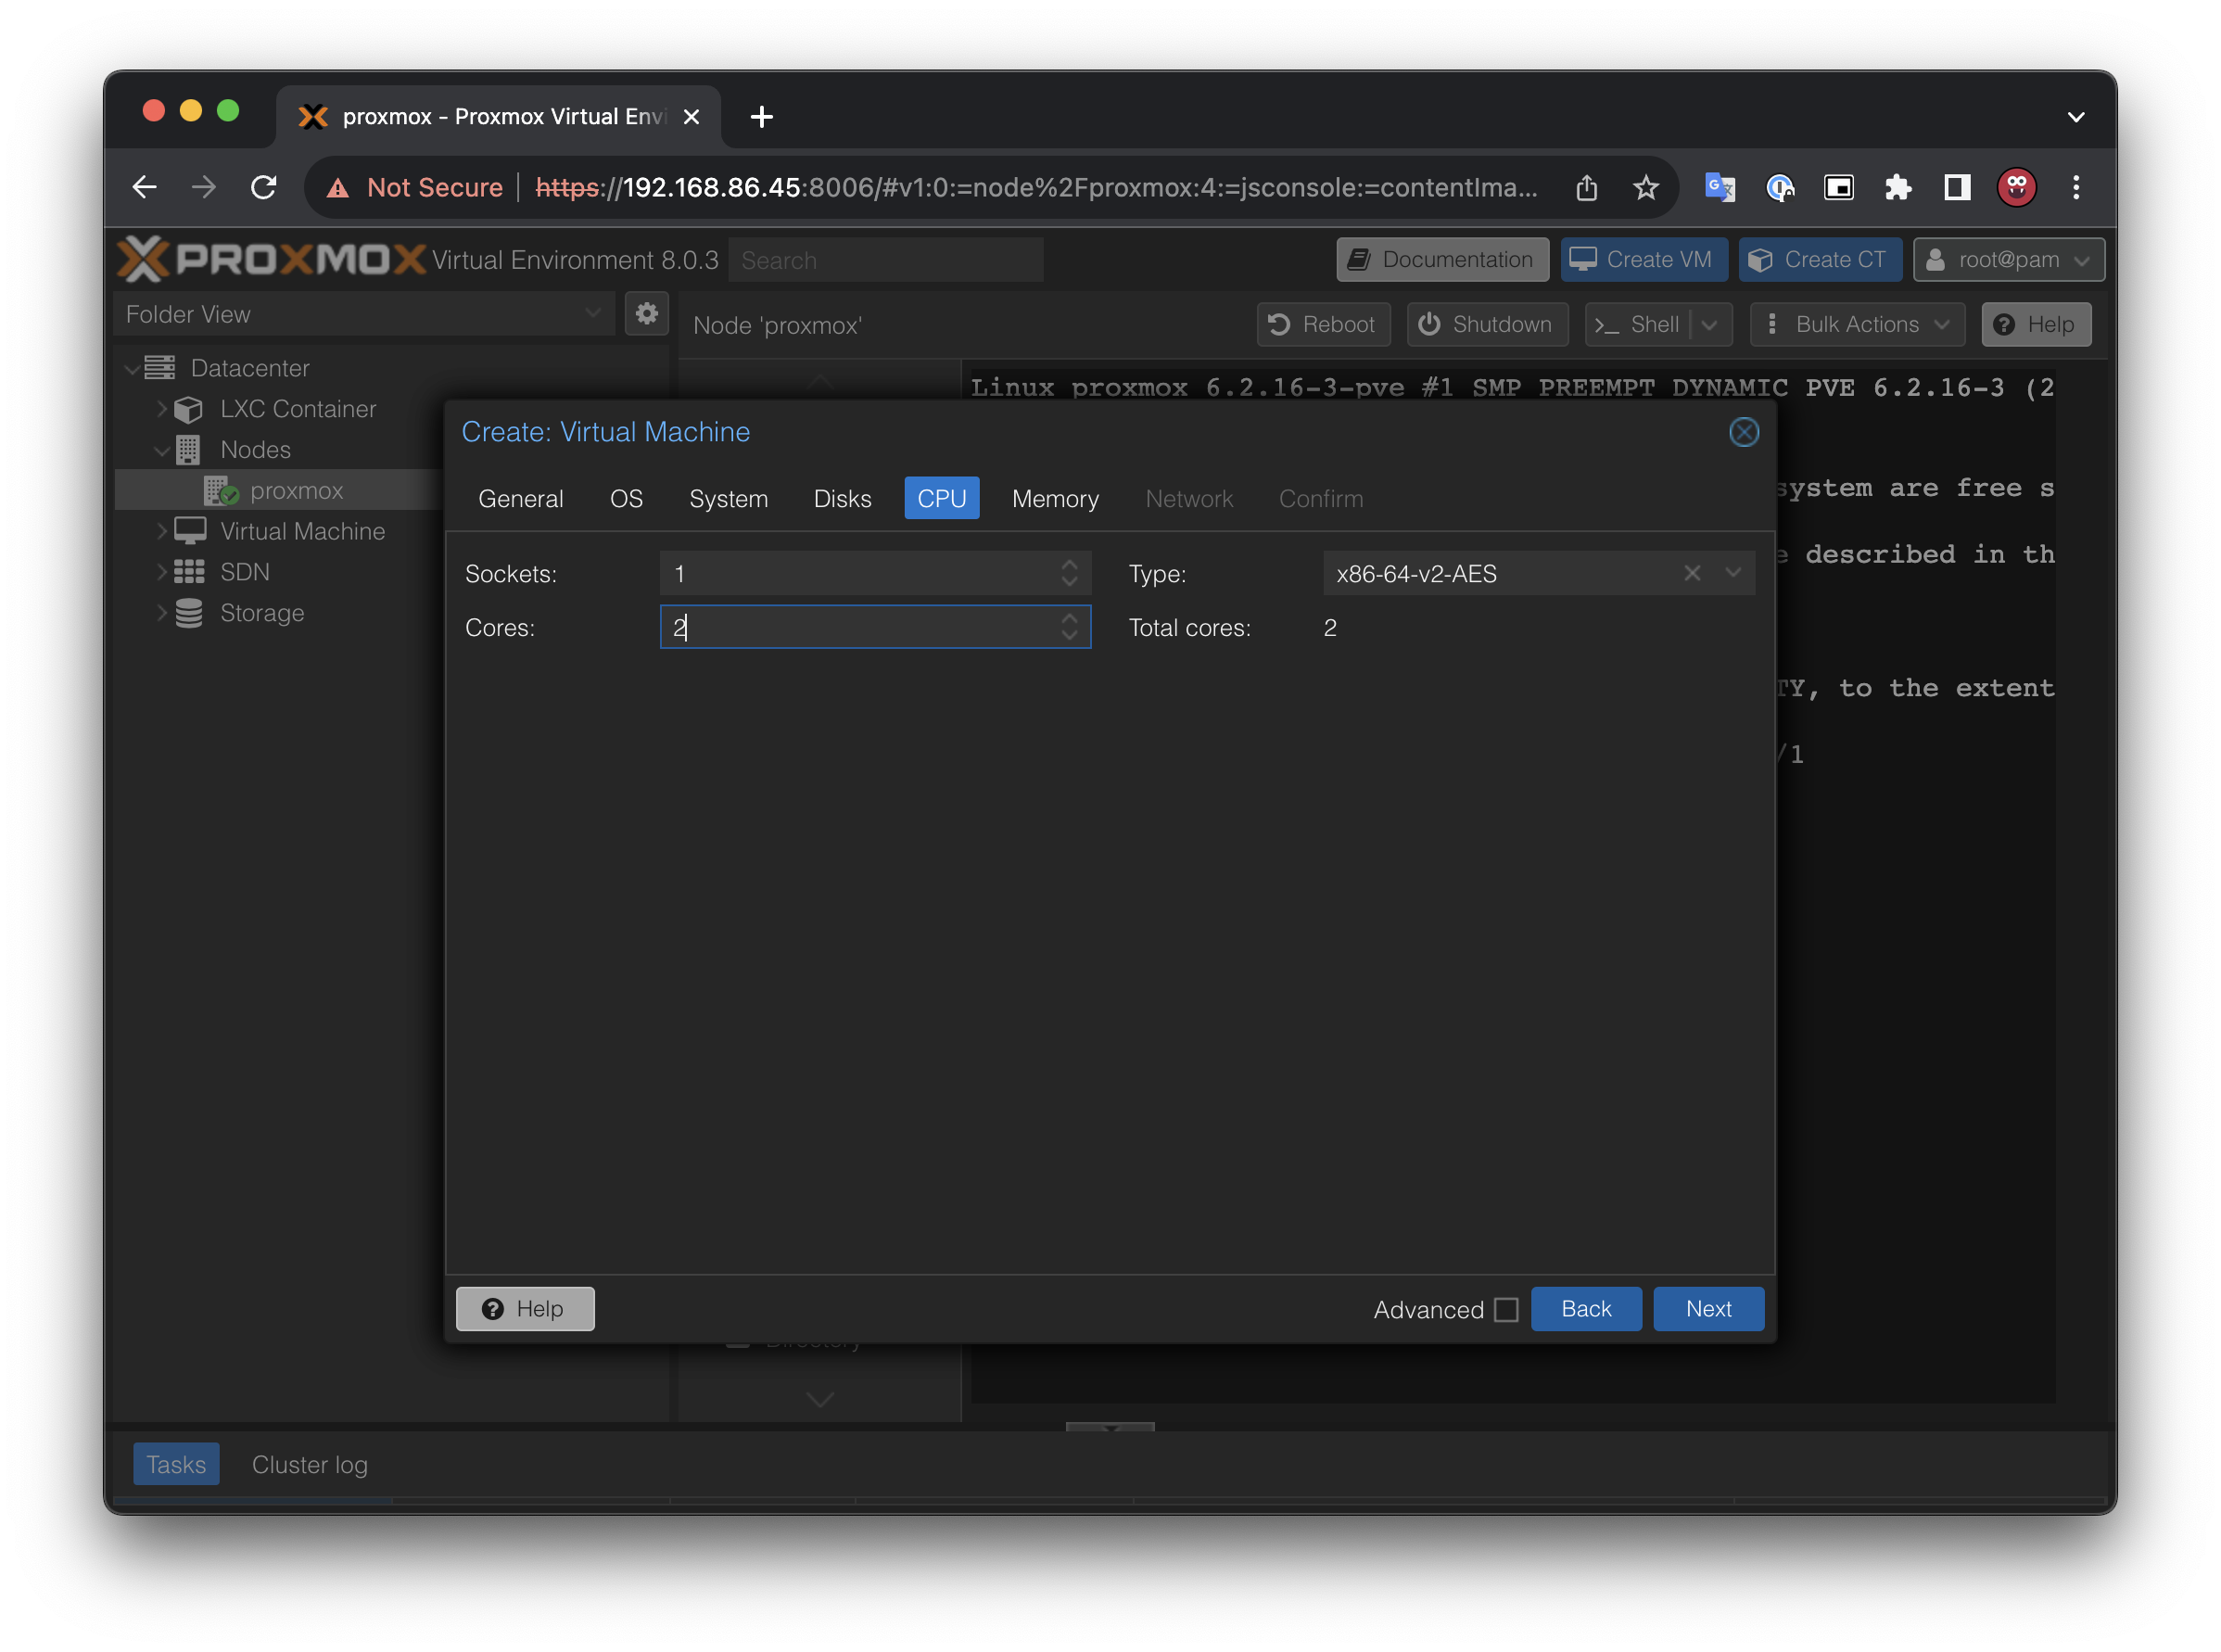
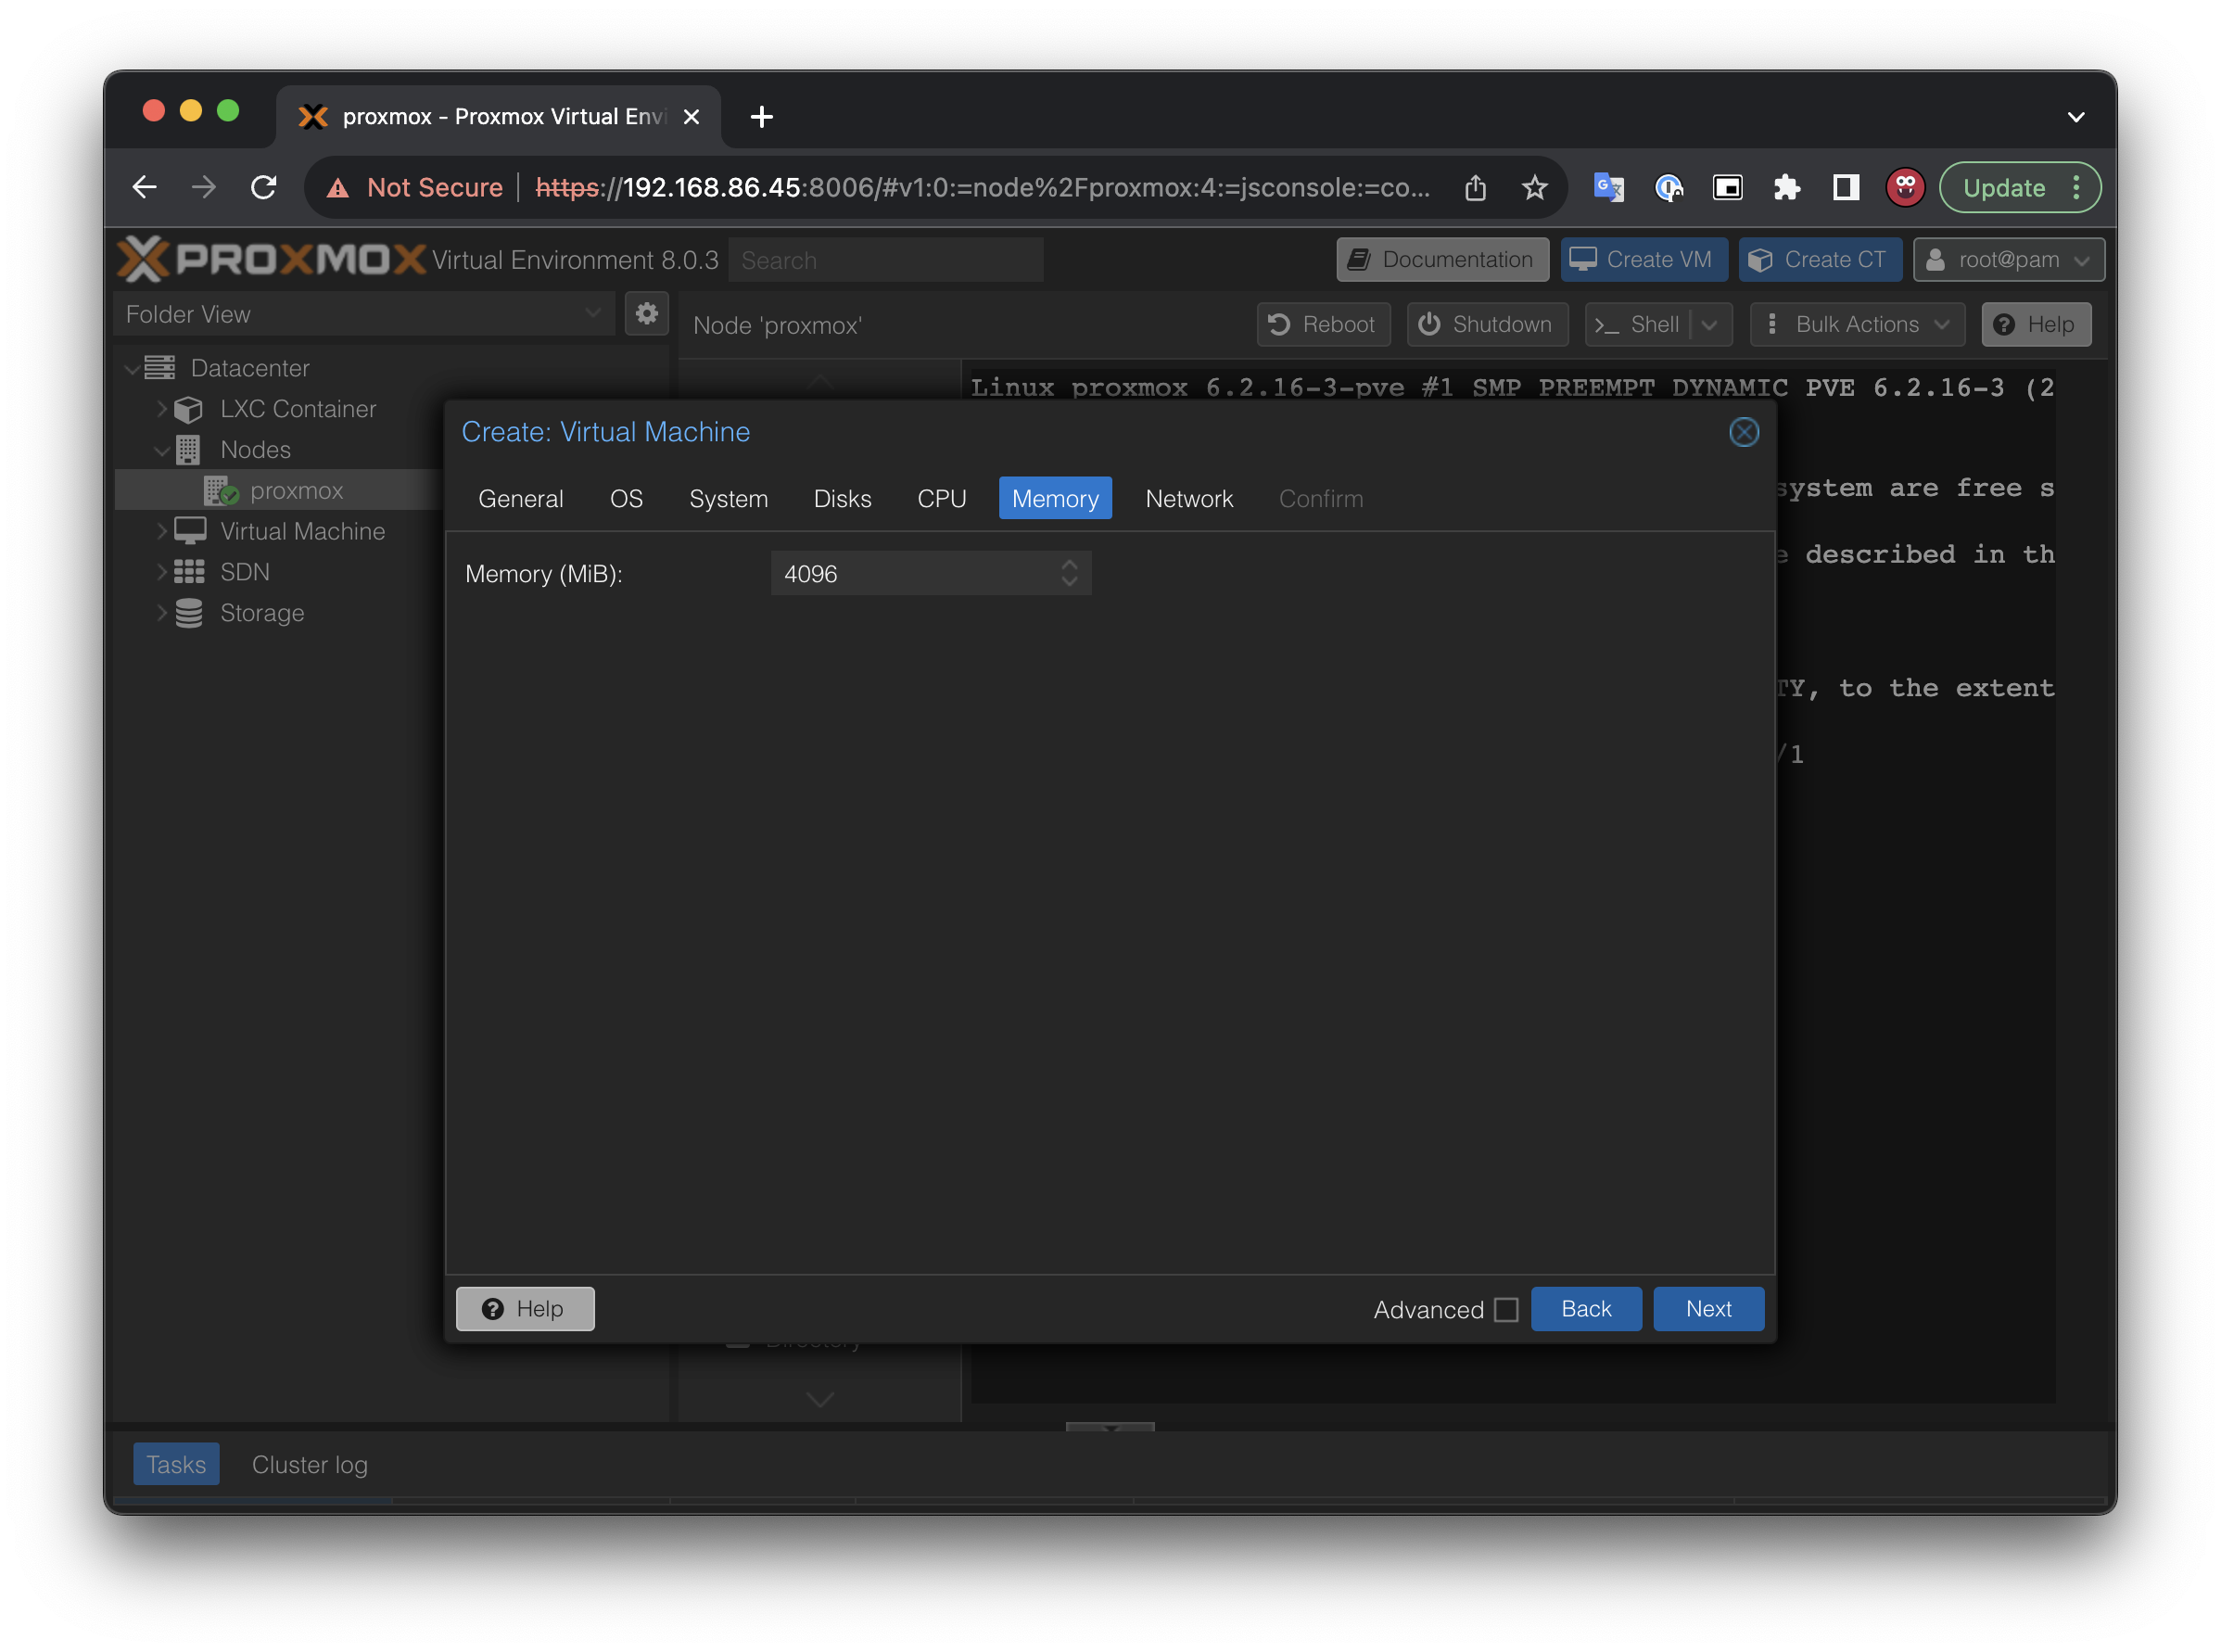

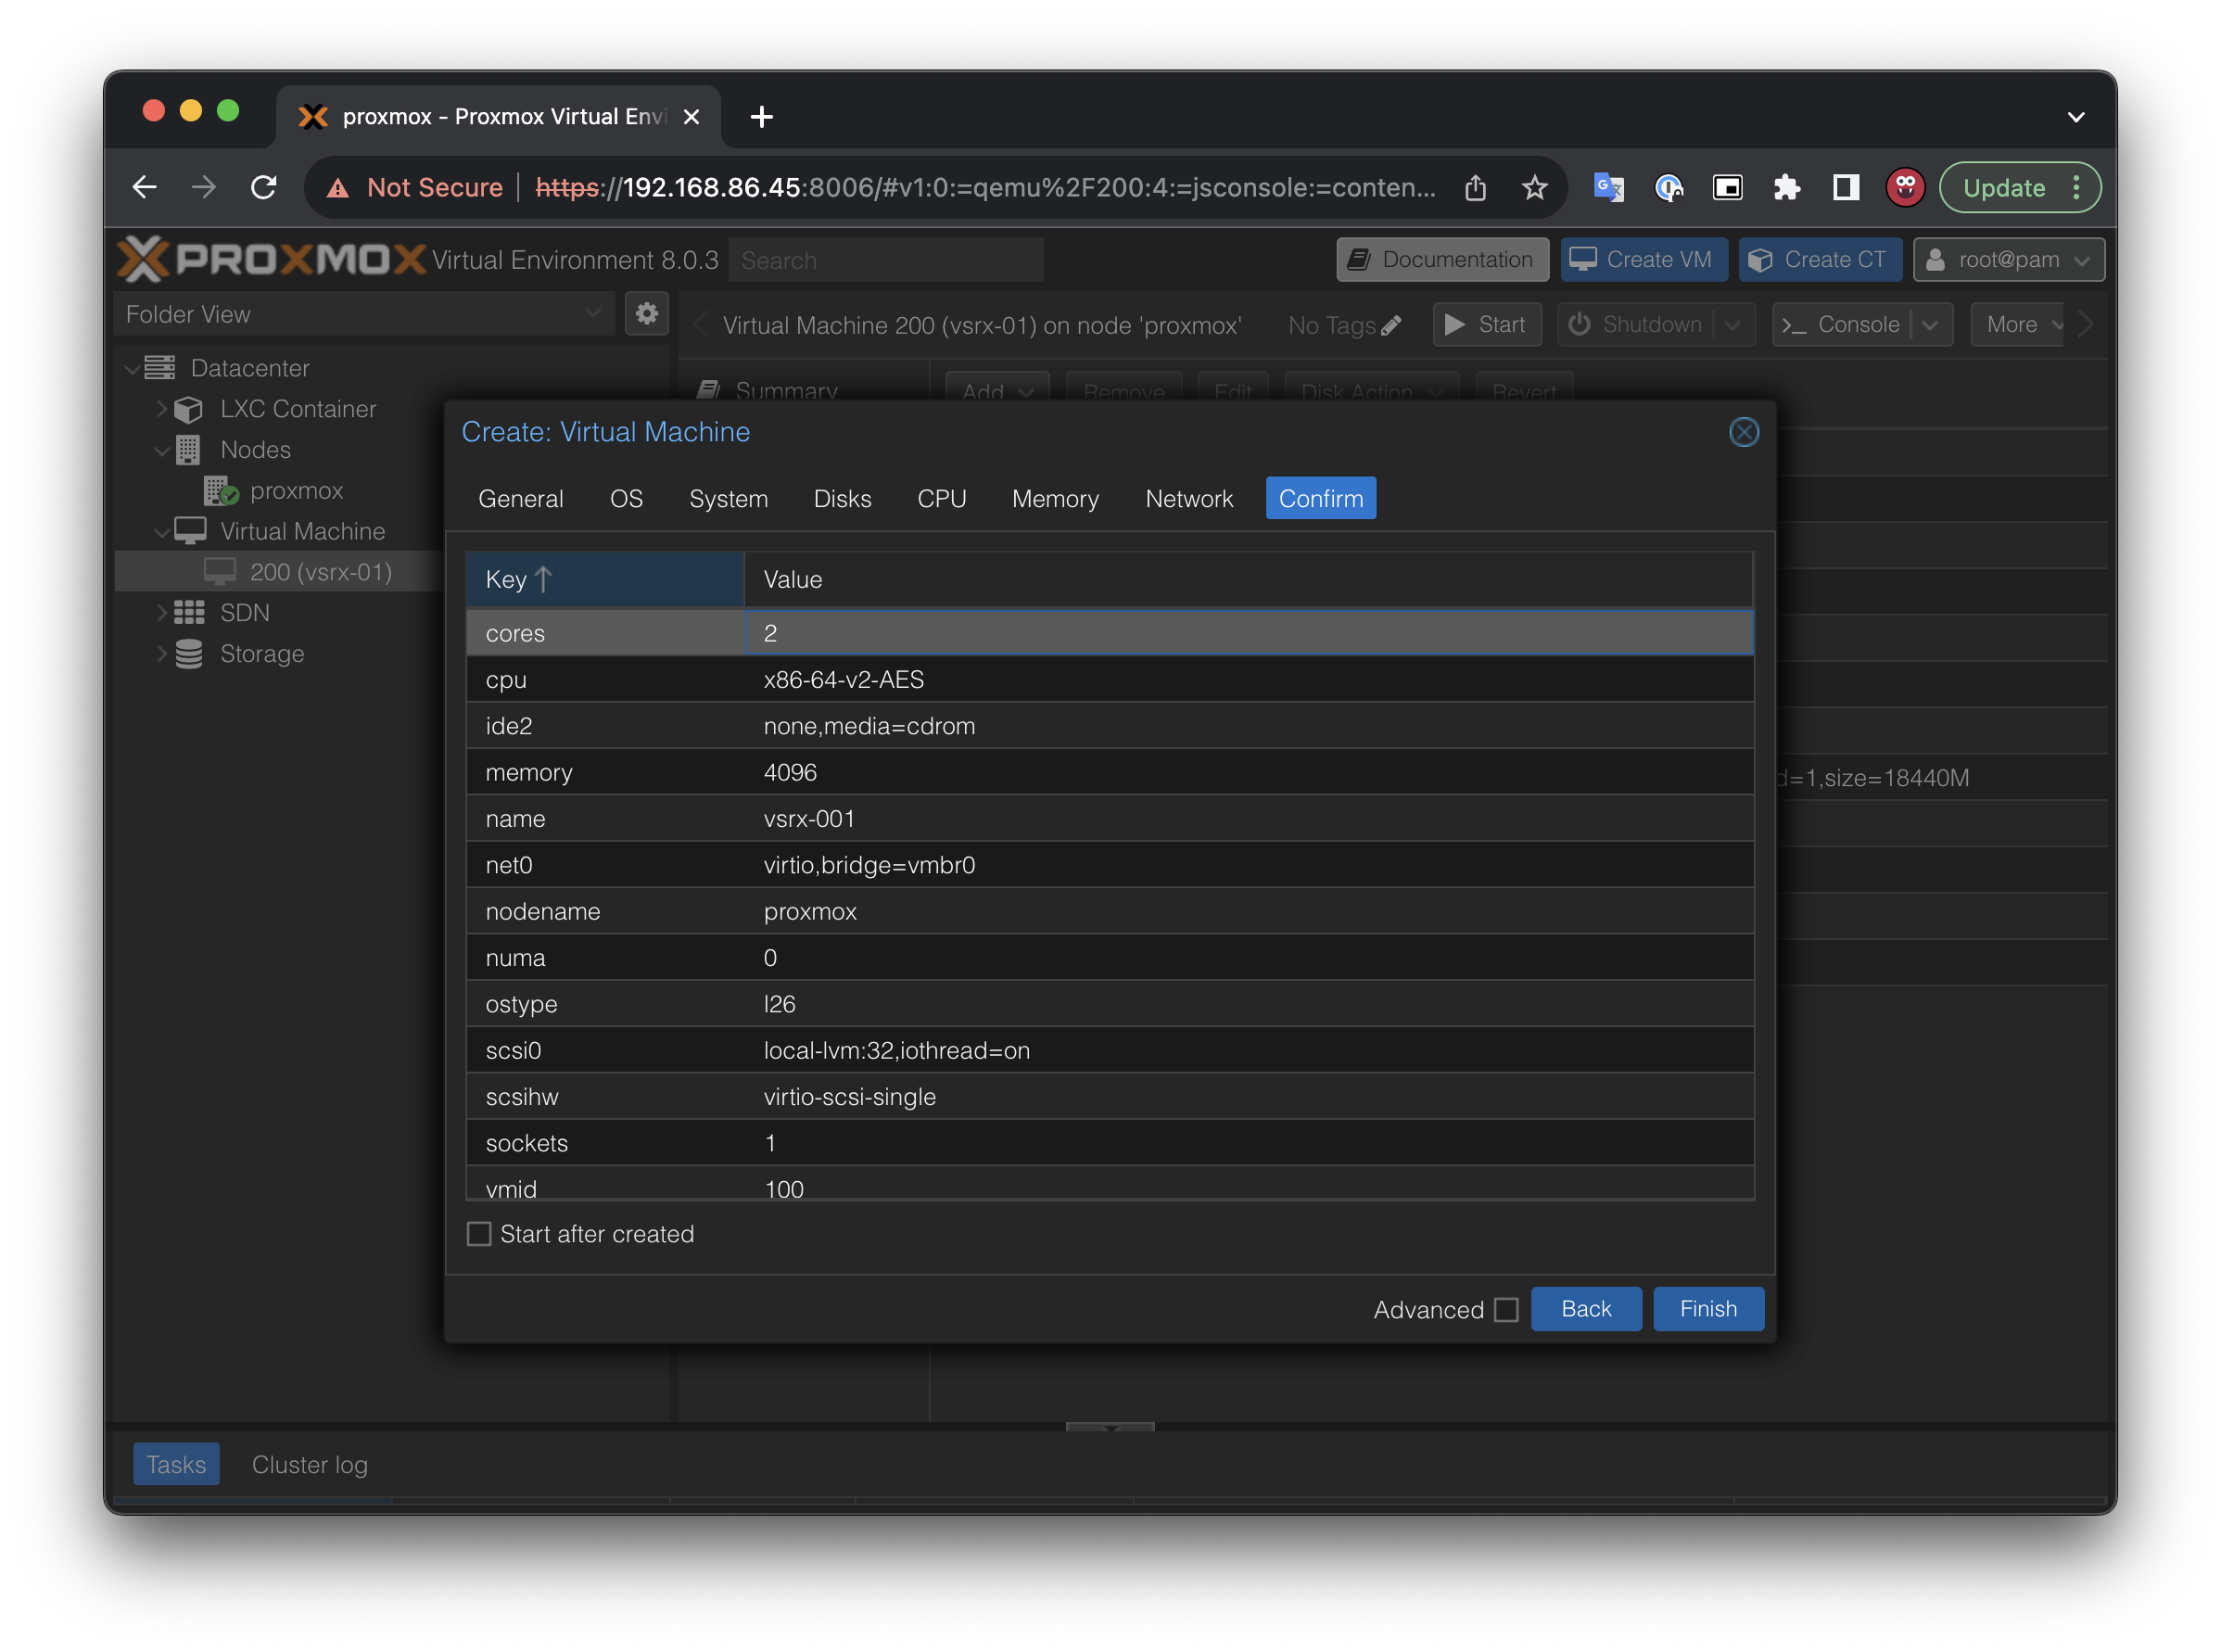
2. Configure VM
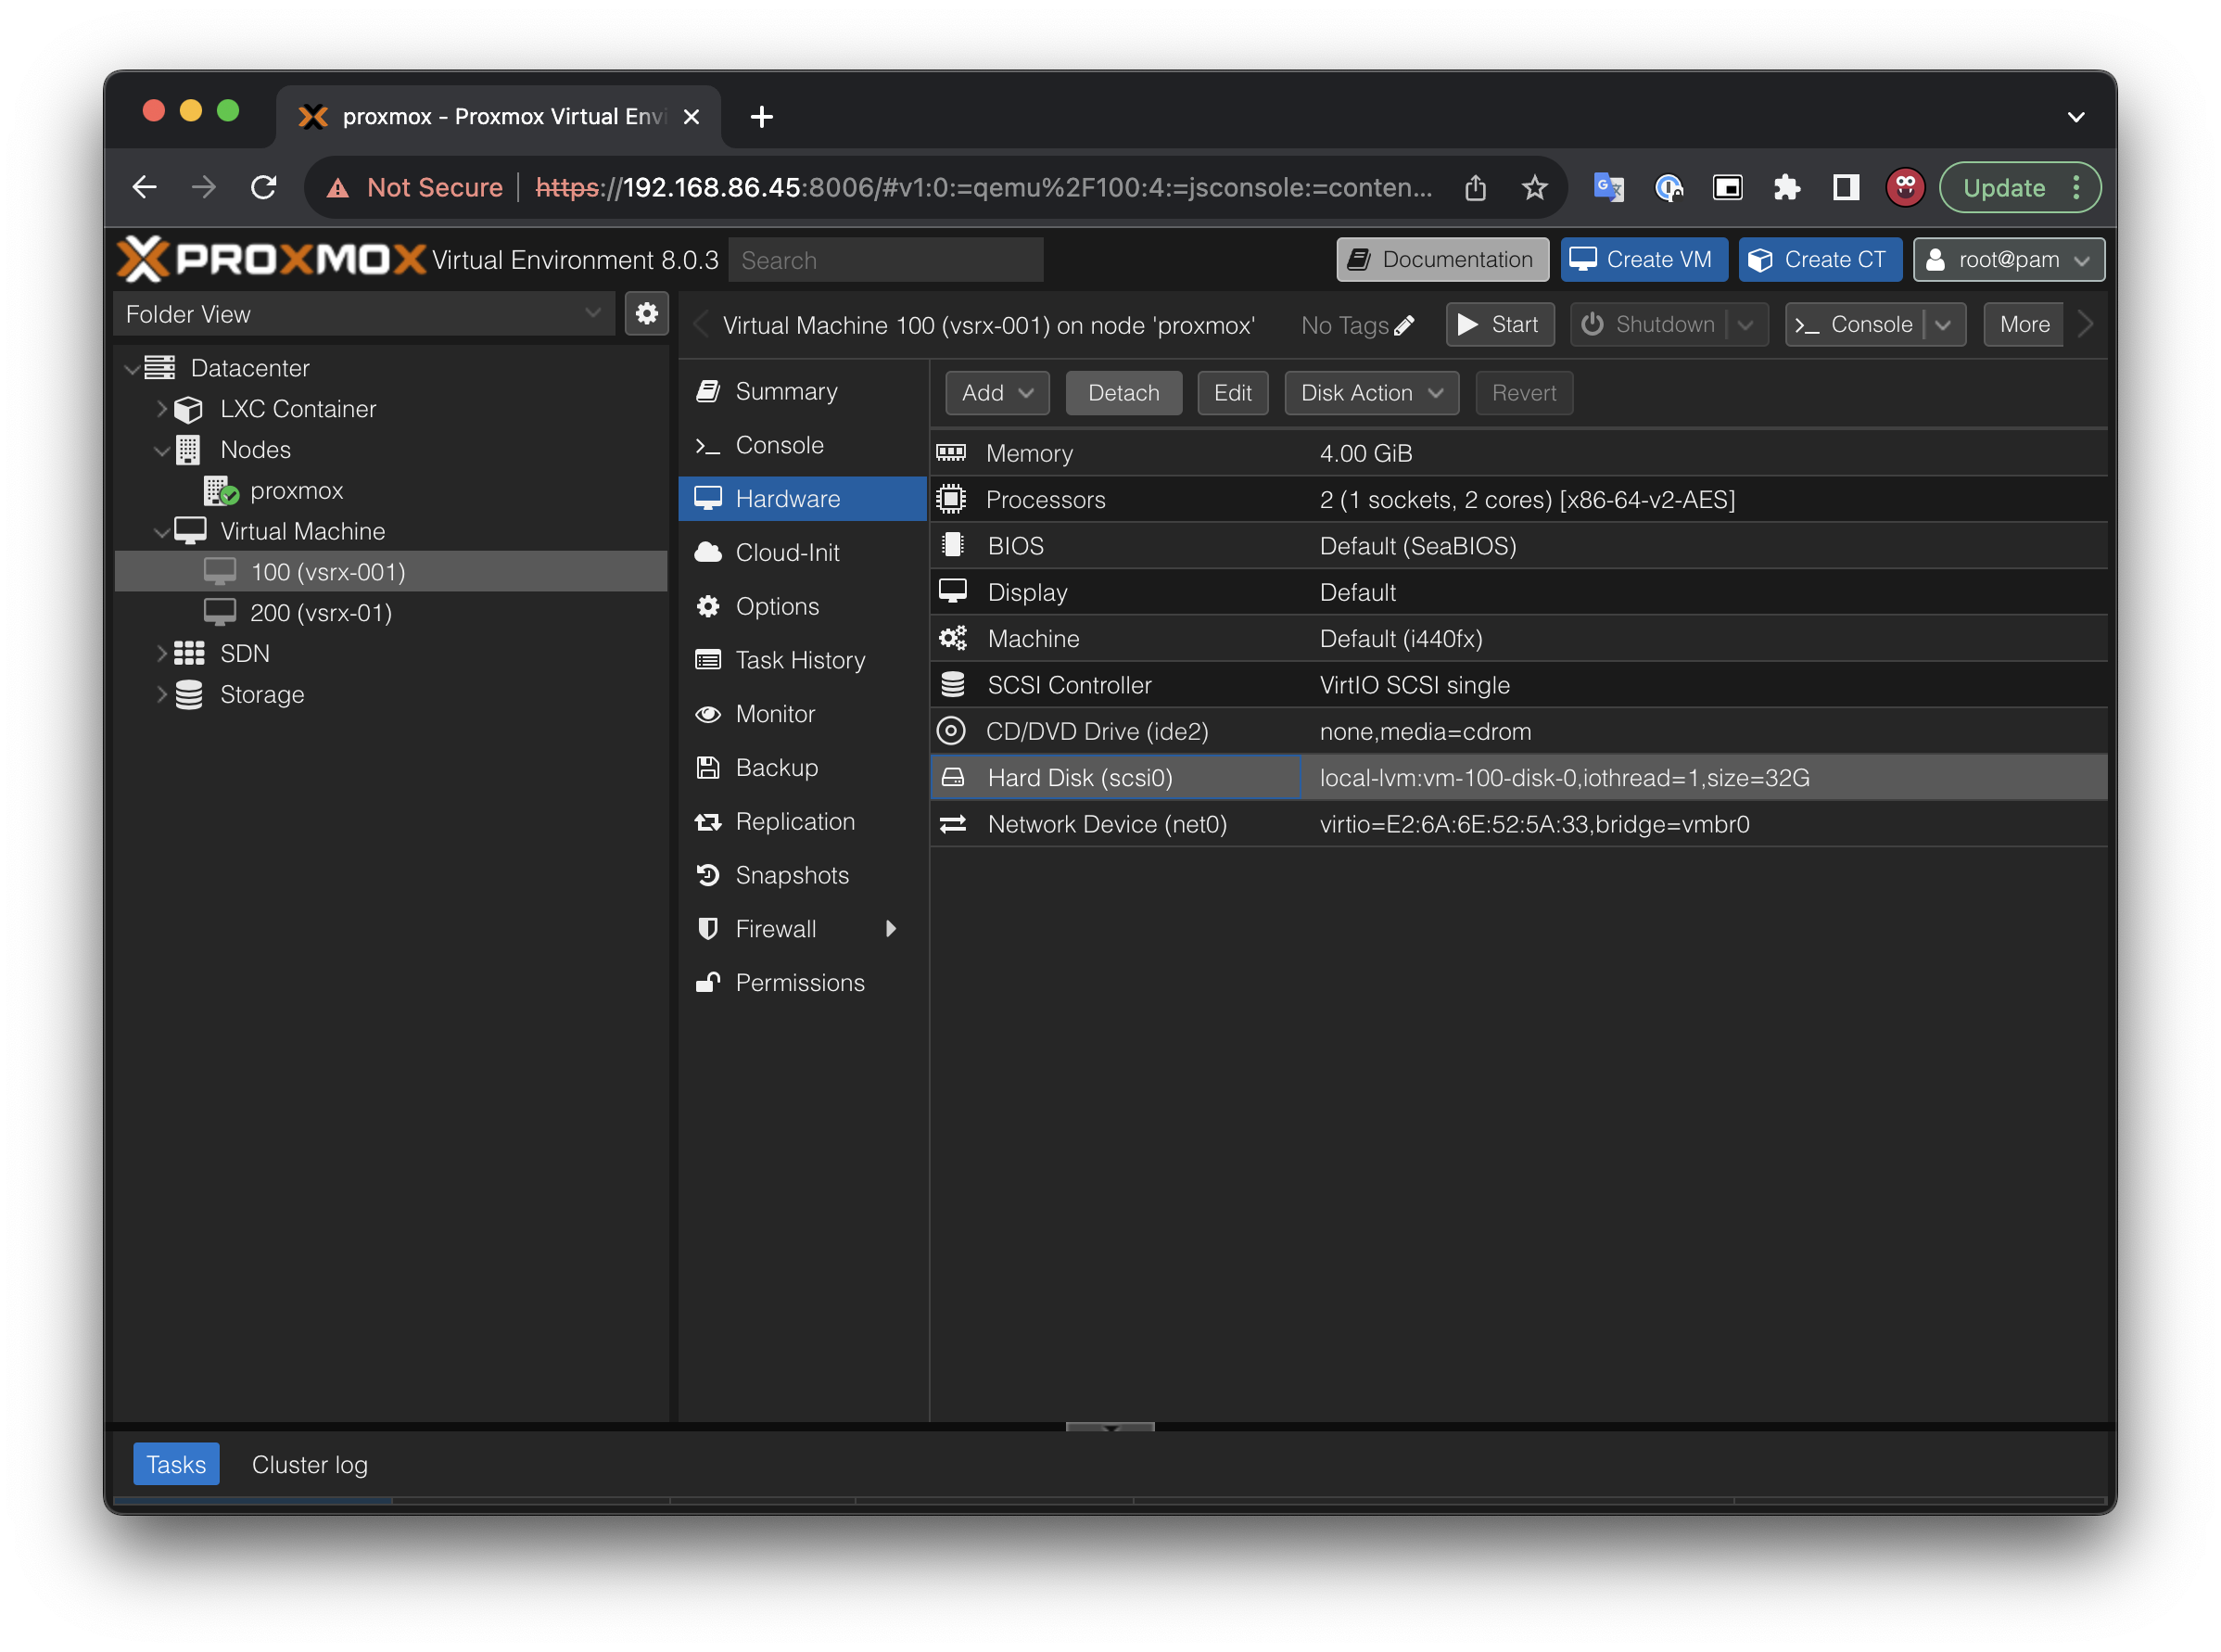
Next we are going to replace the harddisk with the SRX image.
Select Created VM -> Hard Disk -> Detach Hard disk
Go back to the Proxmox Shell and import the image to the VM. qm importdisk <vmid> <source> <storage> [OPTIONS]
VM is referred by the ID and in this case VMID is 100
1

qm importdisk 100 /var/tmp/junos-vsrx3-x86-64-20.2R1.10.qcow2 local-lvm
This will add new disk to the VM. To make it active, go back to the VM -> Select Disk 1 -> Click Edit -> Add
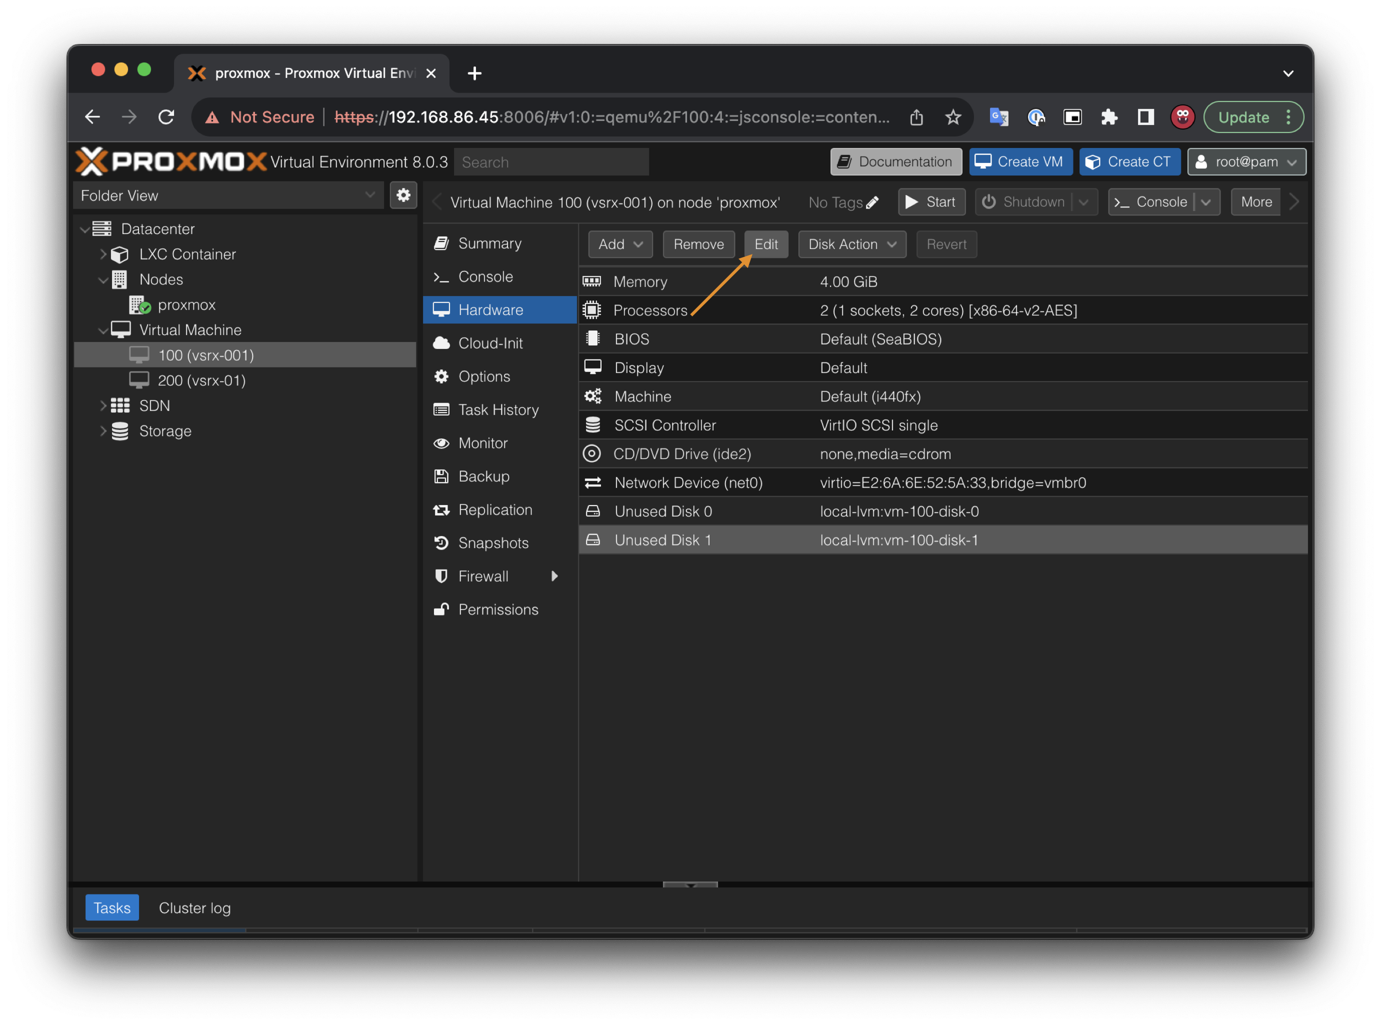
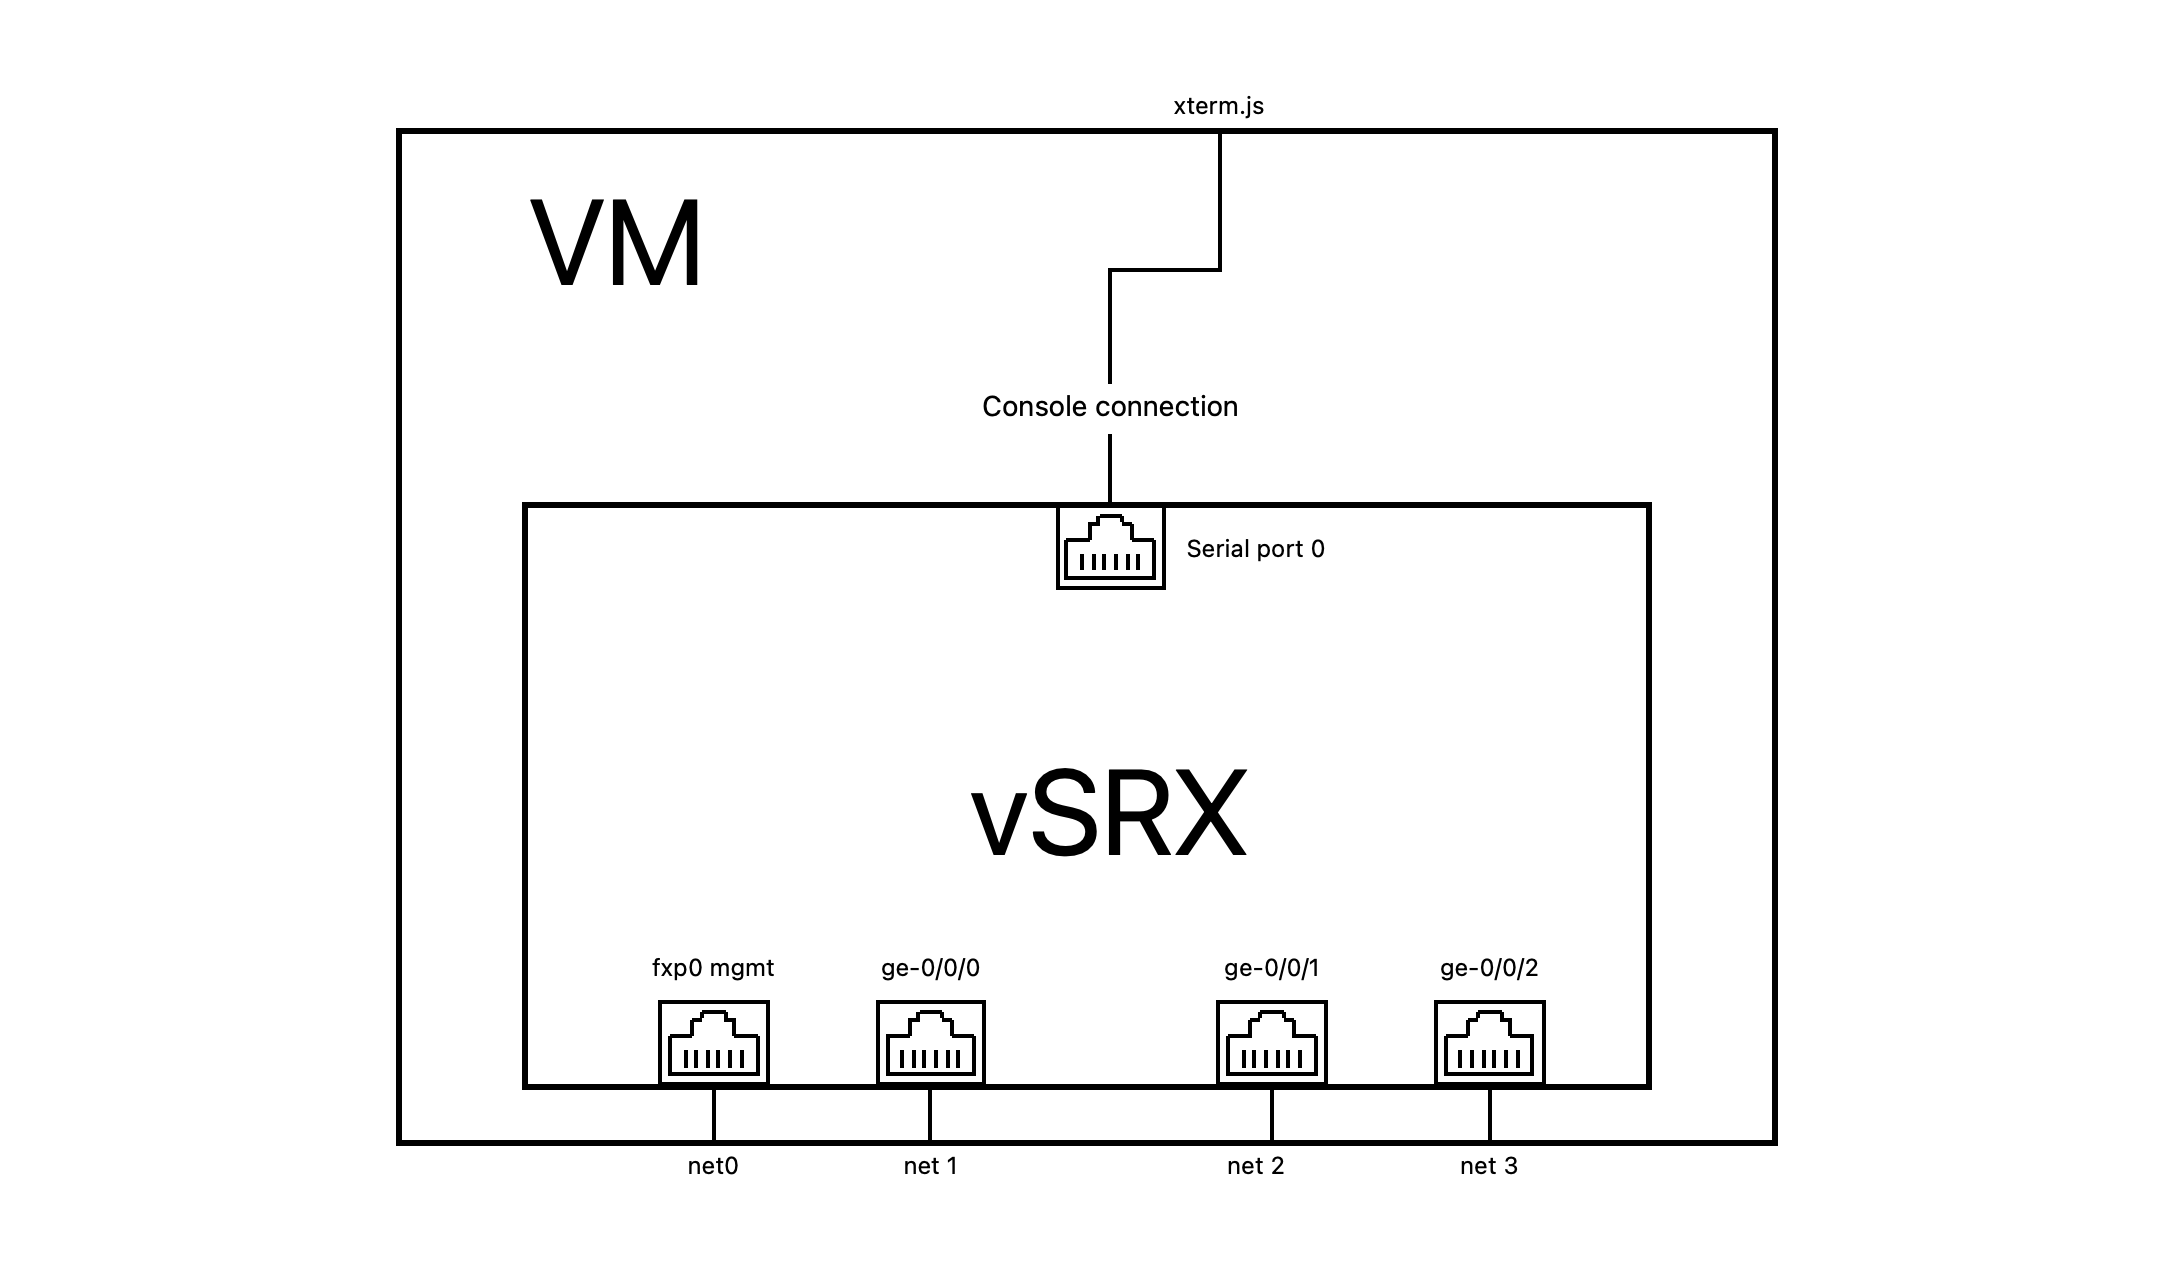
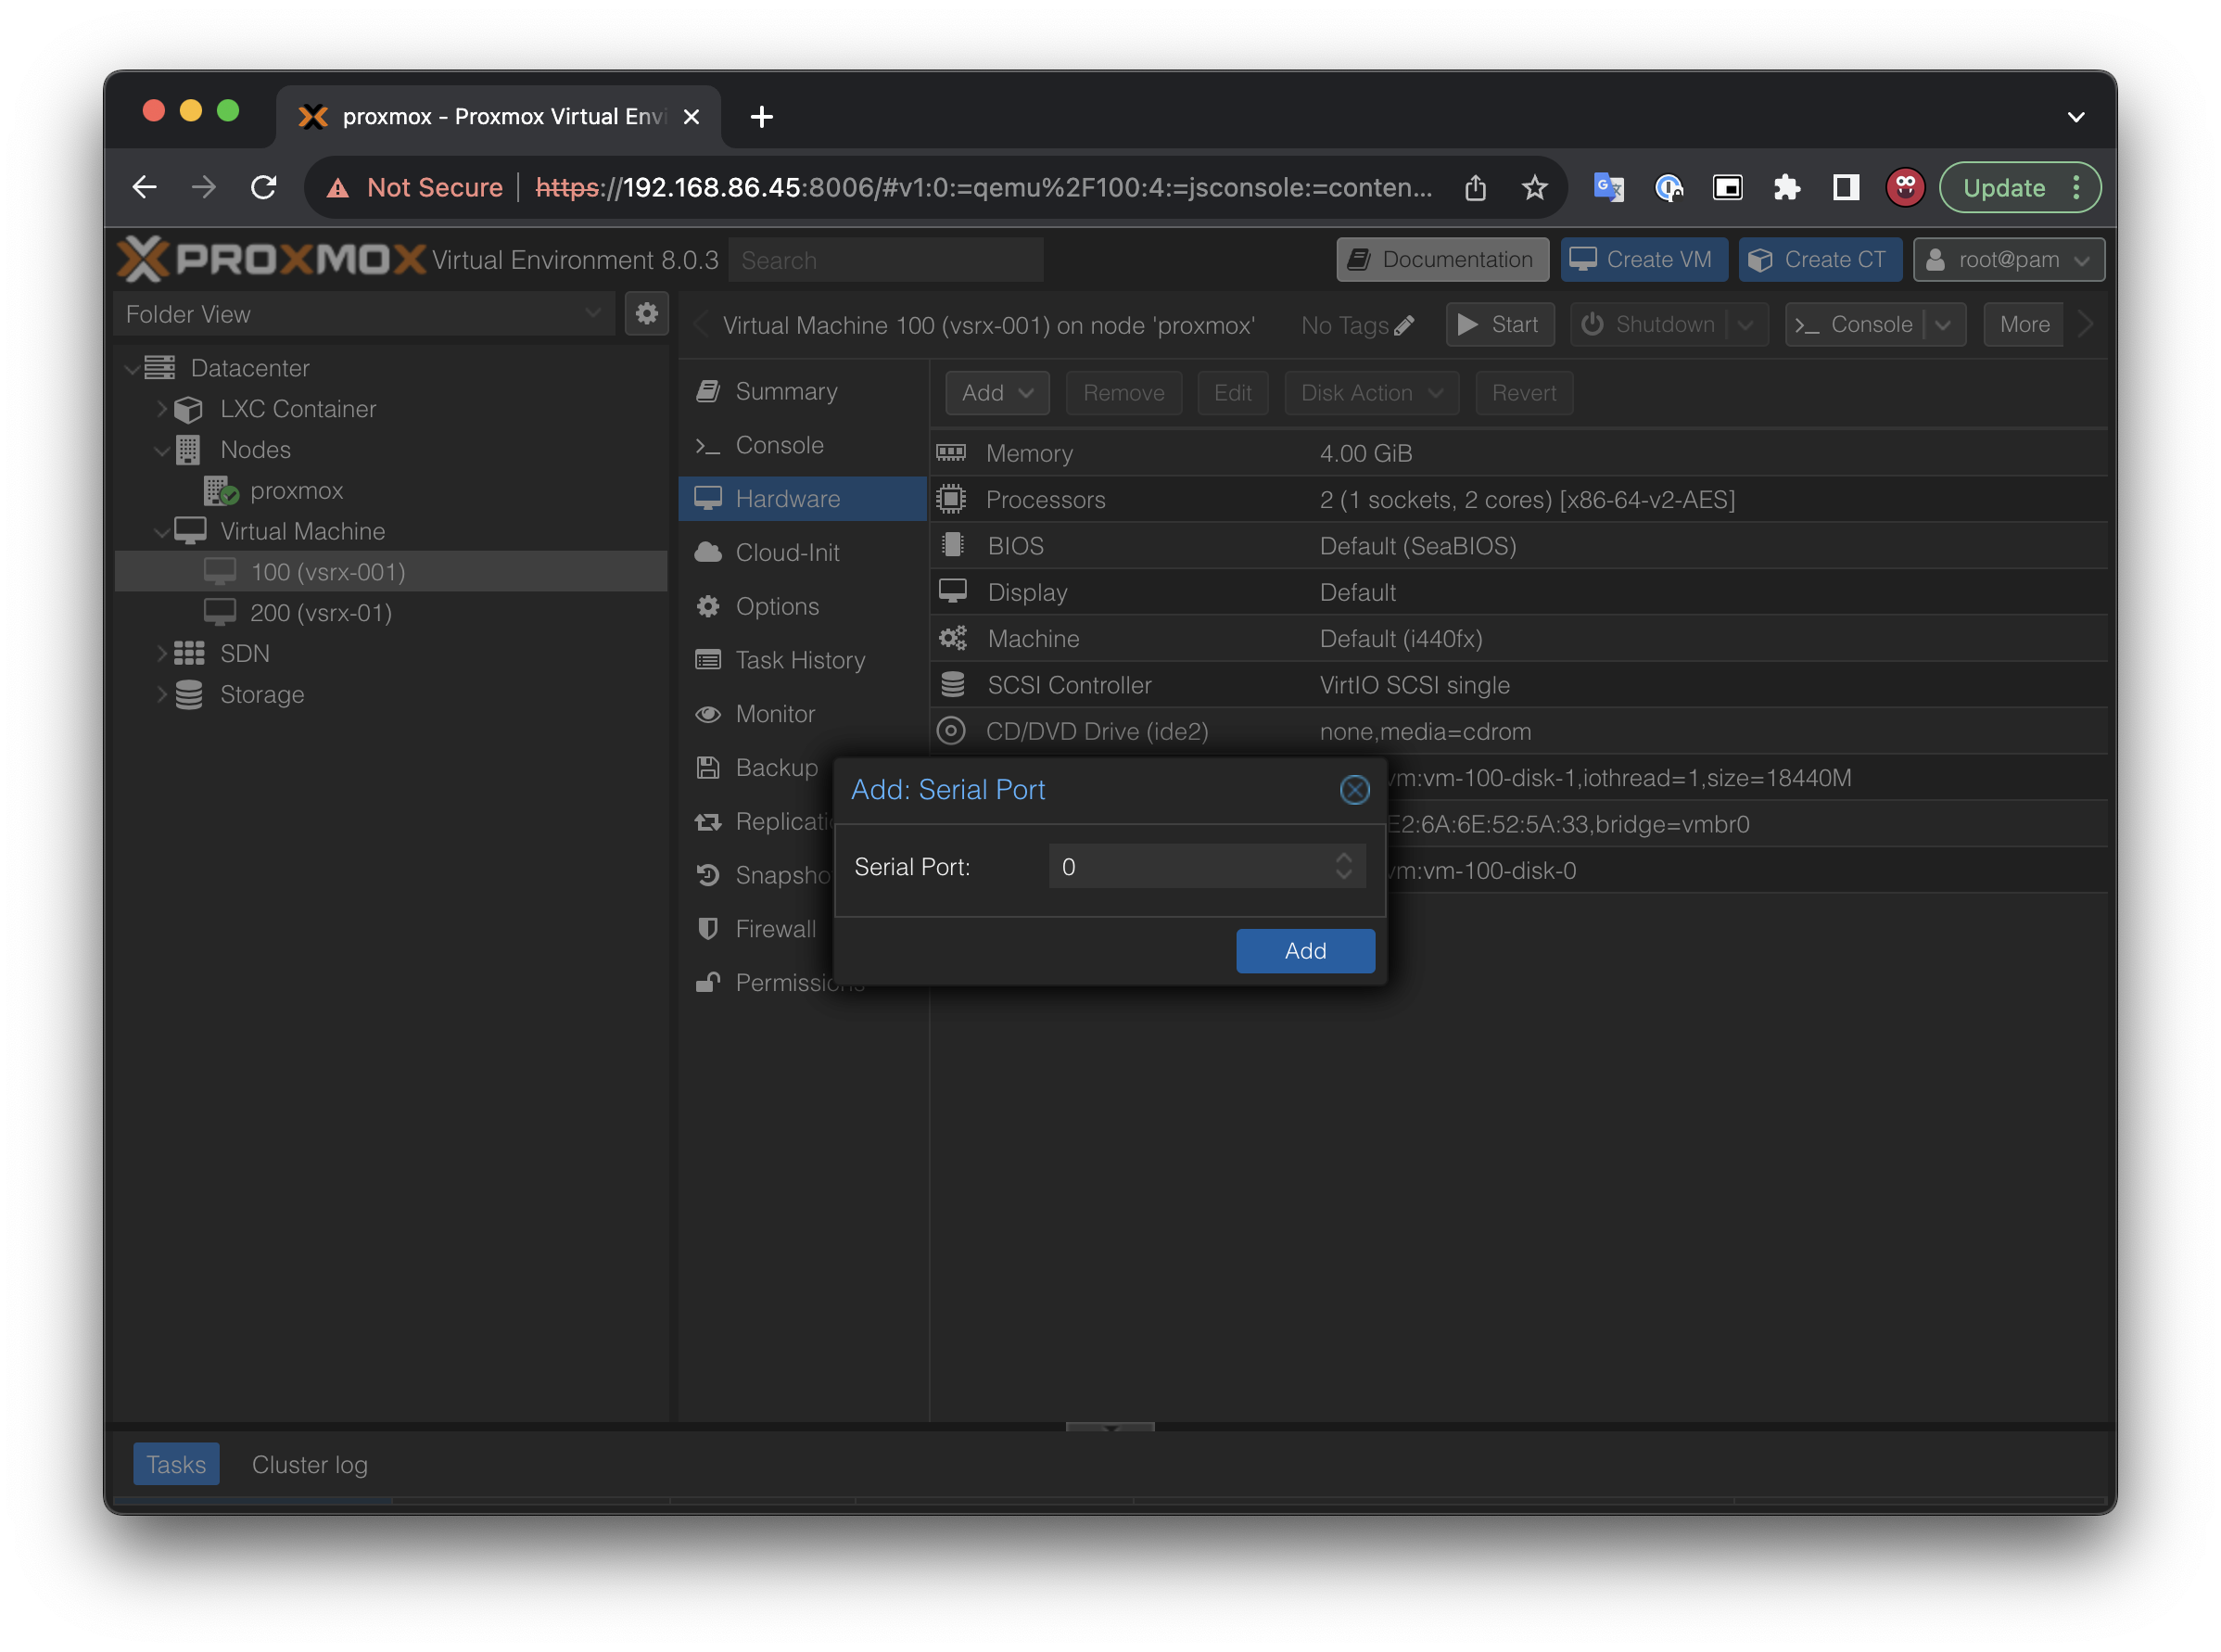
Click Add -> Serial Port -> Add Serial Port 0
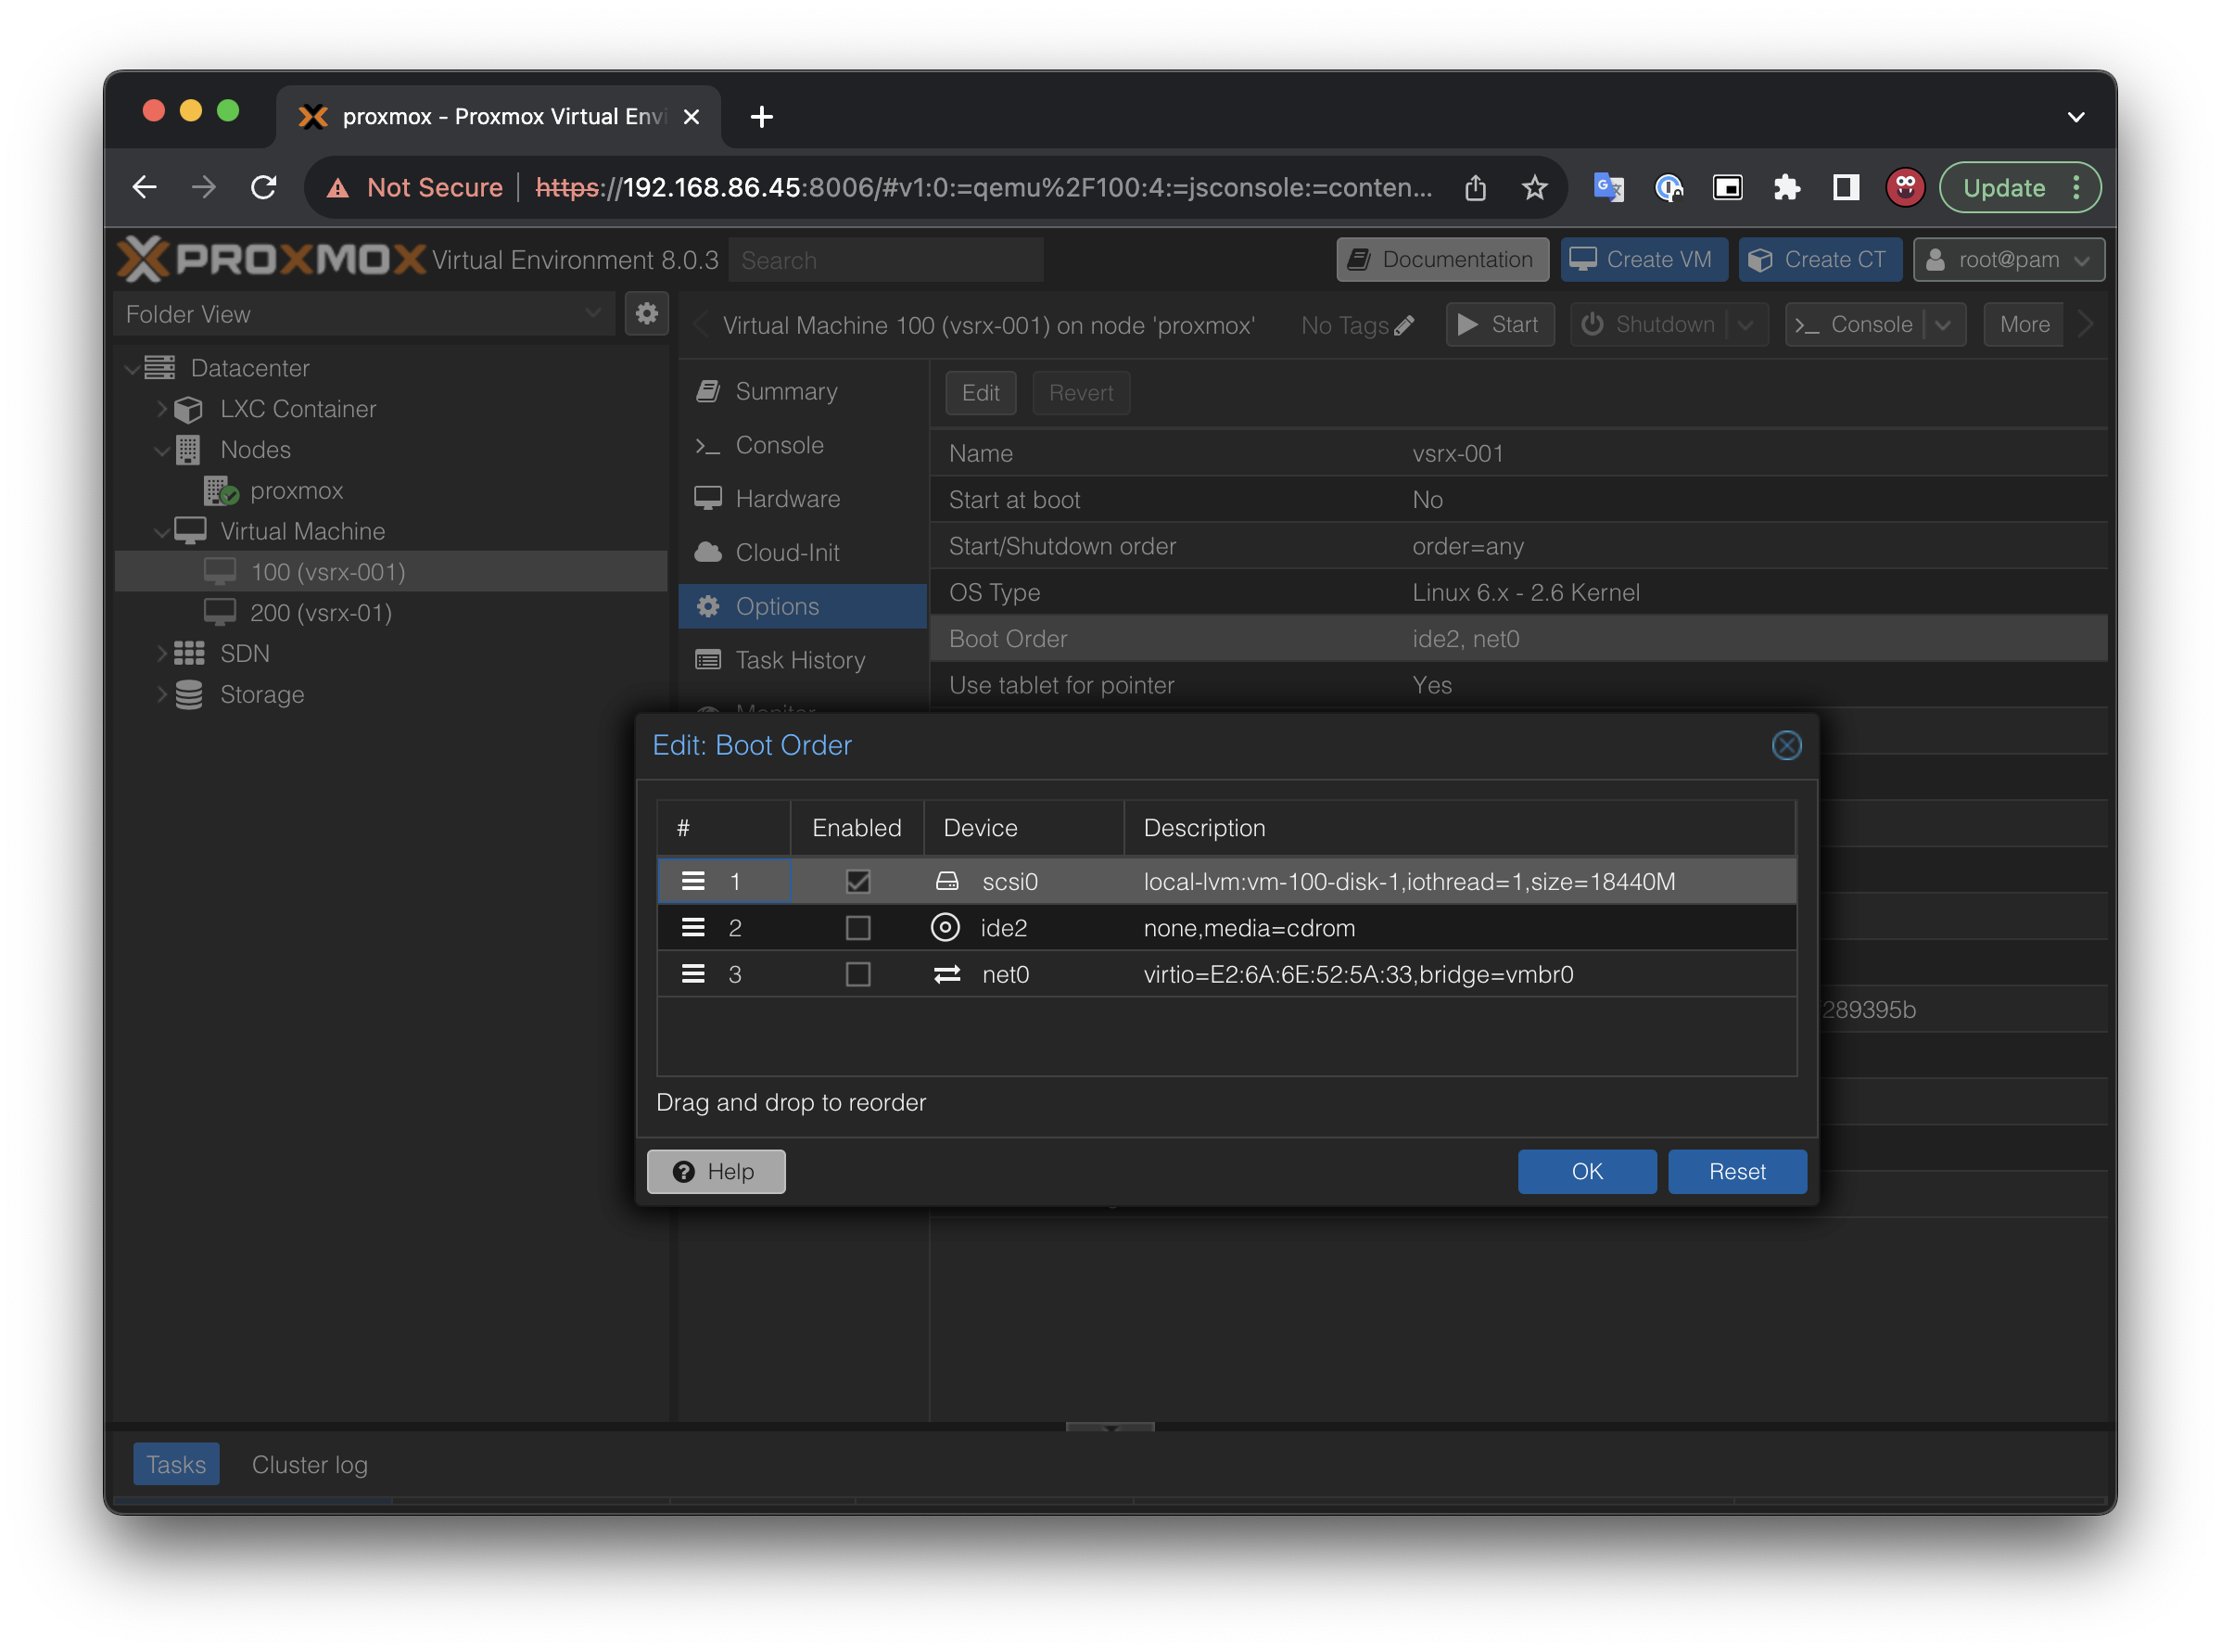
Go to Options -> Boot Order -> Enable boot from Disk 1
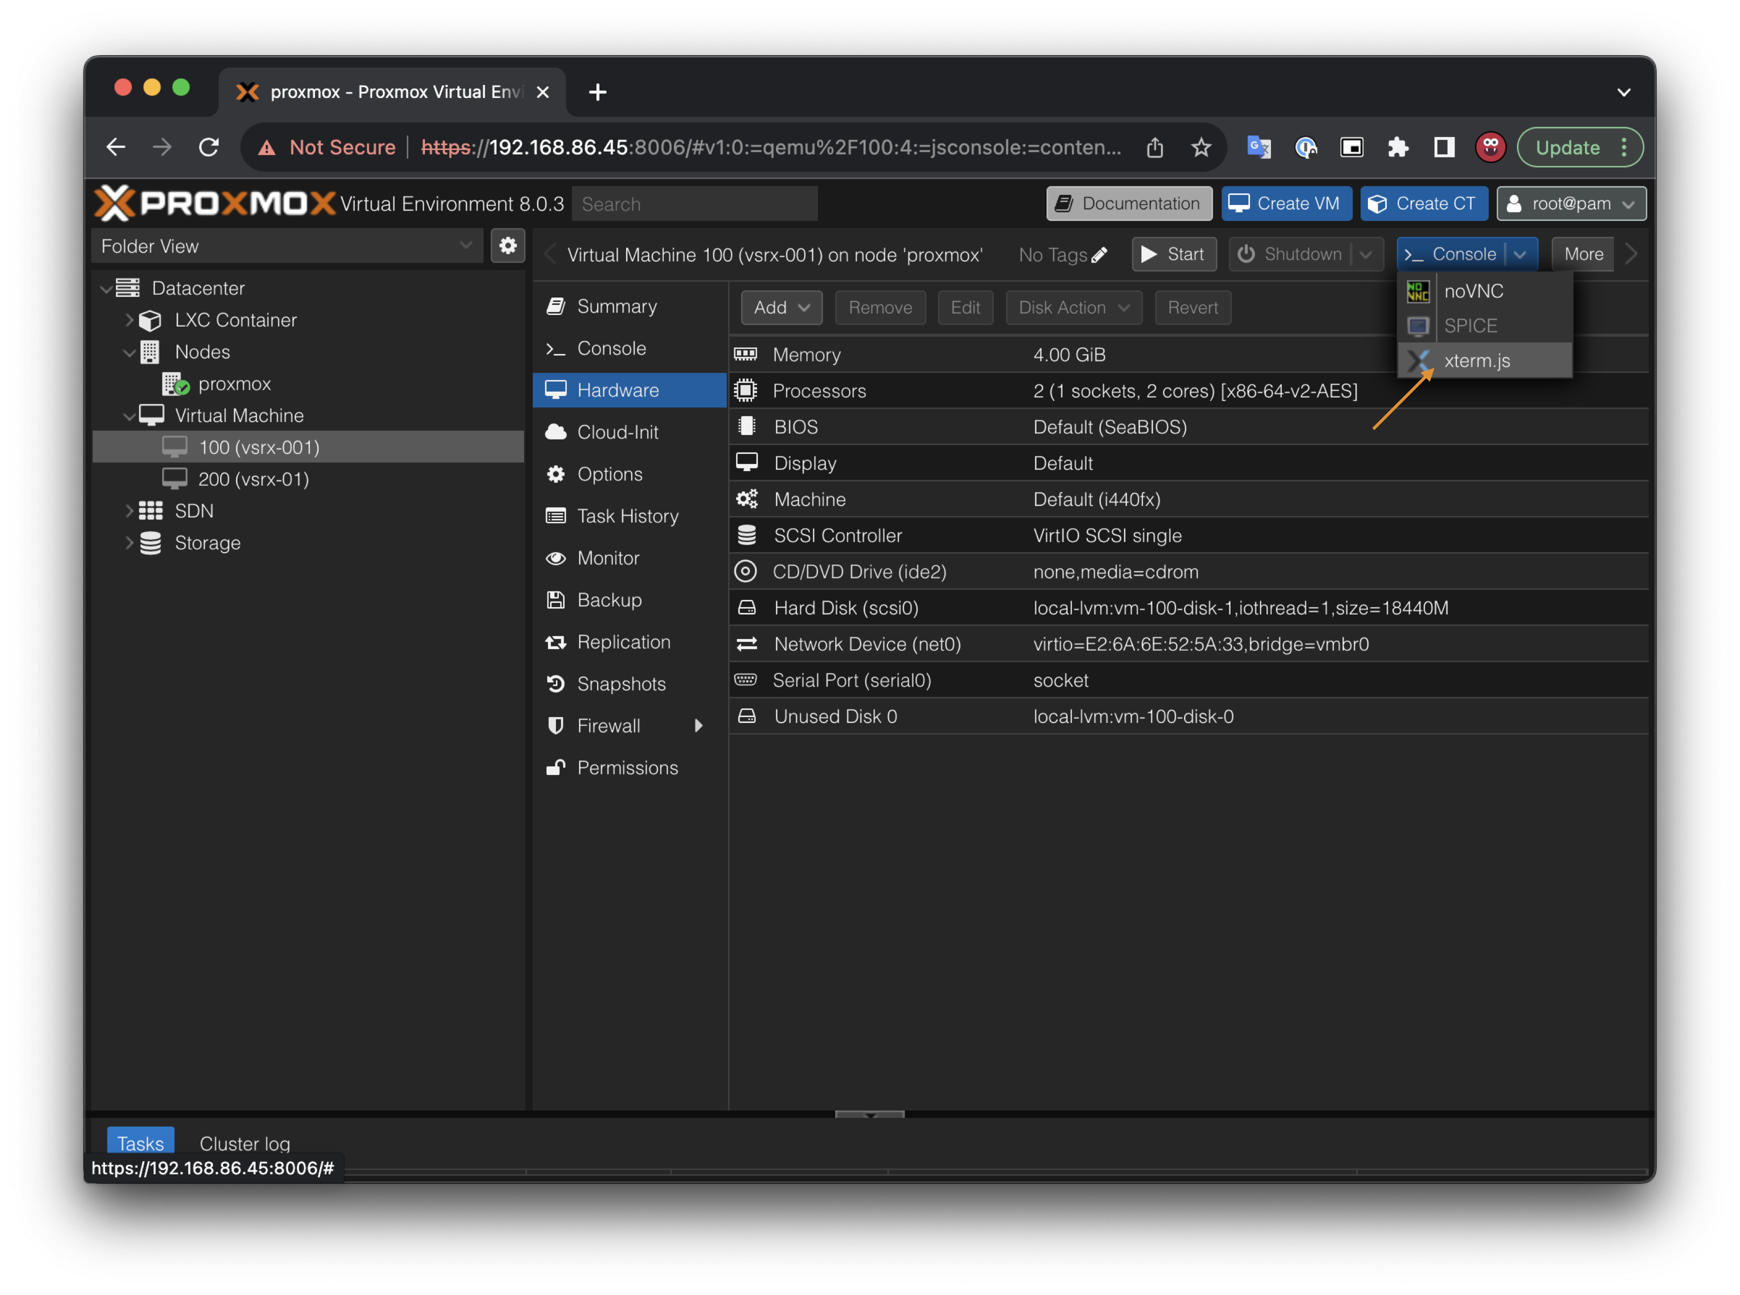
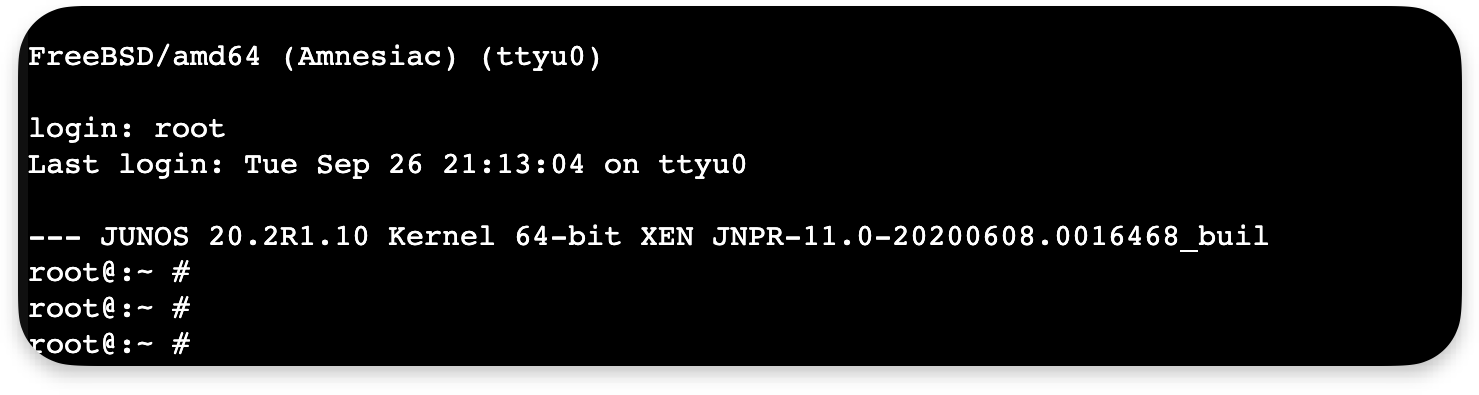
Start the VM and connect with xterm.js. This will provide you with connection to the serial port of the vSRX.
And here is a result with working Juniper vSRX.
Comments powered by Disqus.