
Introduction:
In this post, I will be reviving my old Macbook Air that has been long forgotten, just collecting dust on a shelf for a while, by repurposing it to Proxmox VE Server. Proxmox VE (Virtual Environment) is a powerful open-source virtualization platform that that is very flexible, allowing to create and manage virtual machines and containers. It’s a great tool for running multiple operating systems and application on a single device.
[Good to know vocabulary]
CT: Container
LXC: Linux Container
Node: Physical server on which the container will run
CT ID: a unique number in Proxmox VE installation used to identify the container
Resource Pool: a logical group of containers and VMs
[Links]
Homepage: https://www.proxmox.com/en/
Preparation
List of devices:
- Macbook Air 2012
- USB Ethernet adapter
- USB drive
Make sure you have an USB Ethernet adapter before installation, Macbook Air doesn’t have build-in ethernet port and Proxmox installer doesn’t like the WiFi chips. It will crash with an error due to lack of supported driver.
Installation
1. Prep USB
Download Proxmox ISO from the official website. https://www.proxmox.com/en/
Proxmox VE is based on Debian, and the ISO image provided by Proxmox include a complete Debian system as well as all necessary Proxmox VE packages.
Erase USB with a well compatible format (eg. MS-DOS(FAT))
Check the USB location
1

diskutil list

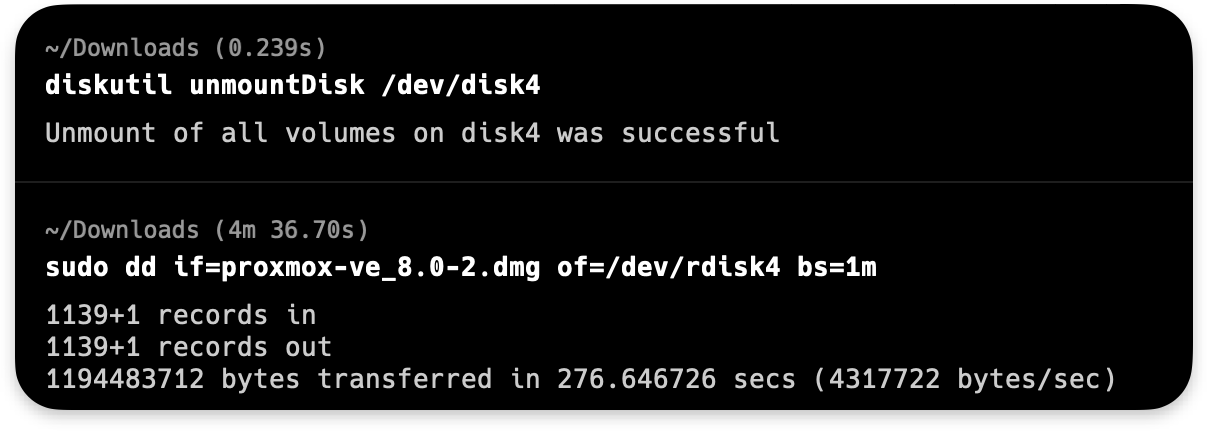
Unmount disk and copy ISO to USB
1
2

diskutil unmountDisk /dev/disk4
sudo dd if=proxmox-ve_8.0-2.dmg of=/dev/rdisk4 bs=1m
2. Proxmox Installation
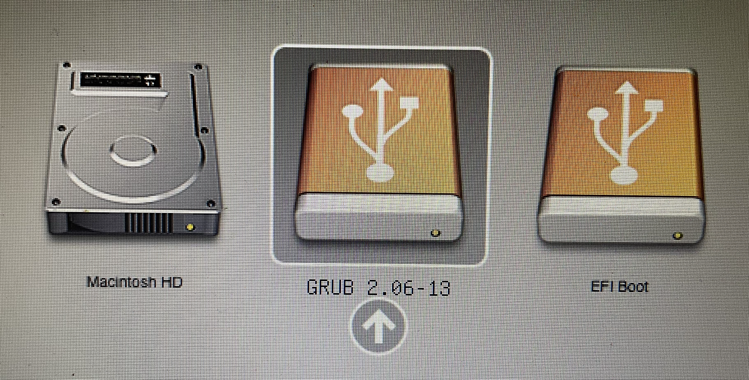
Boot Macbook with Option key pressed -> Select GRUB Bootloader
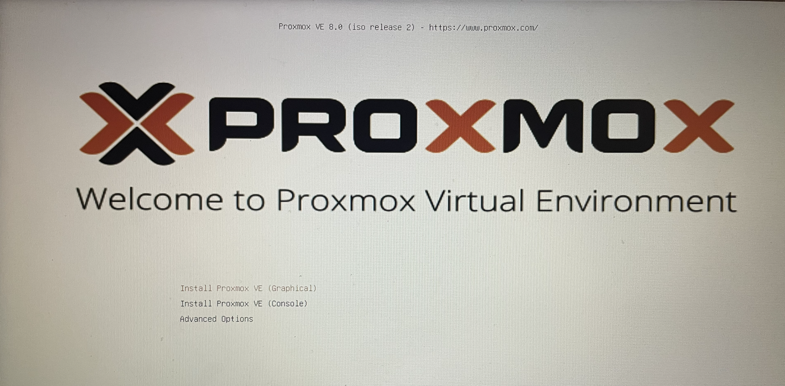
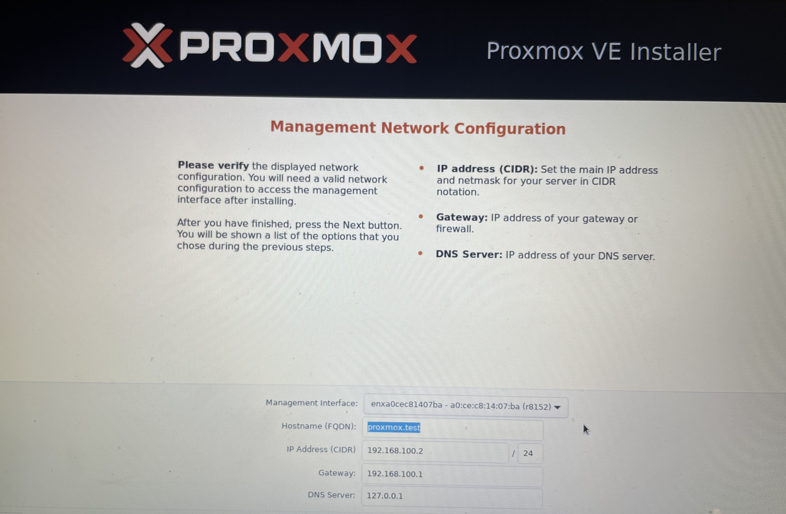
Follow the Installation Guide and Configure Static IP address
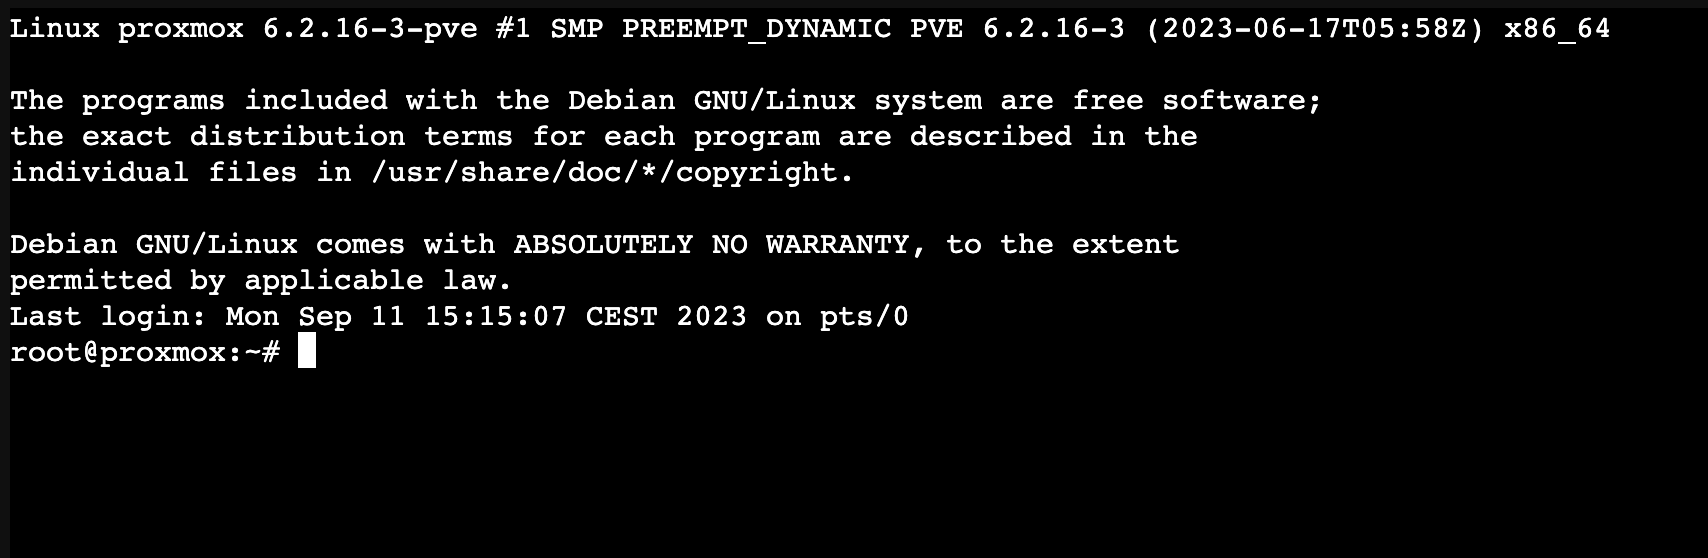
3. Login
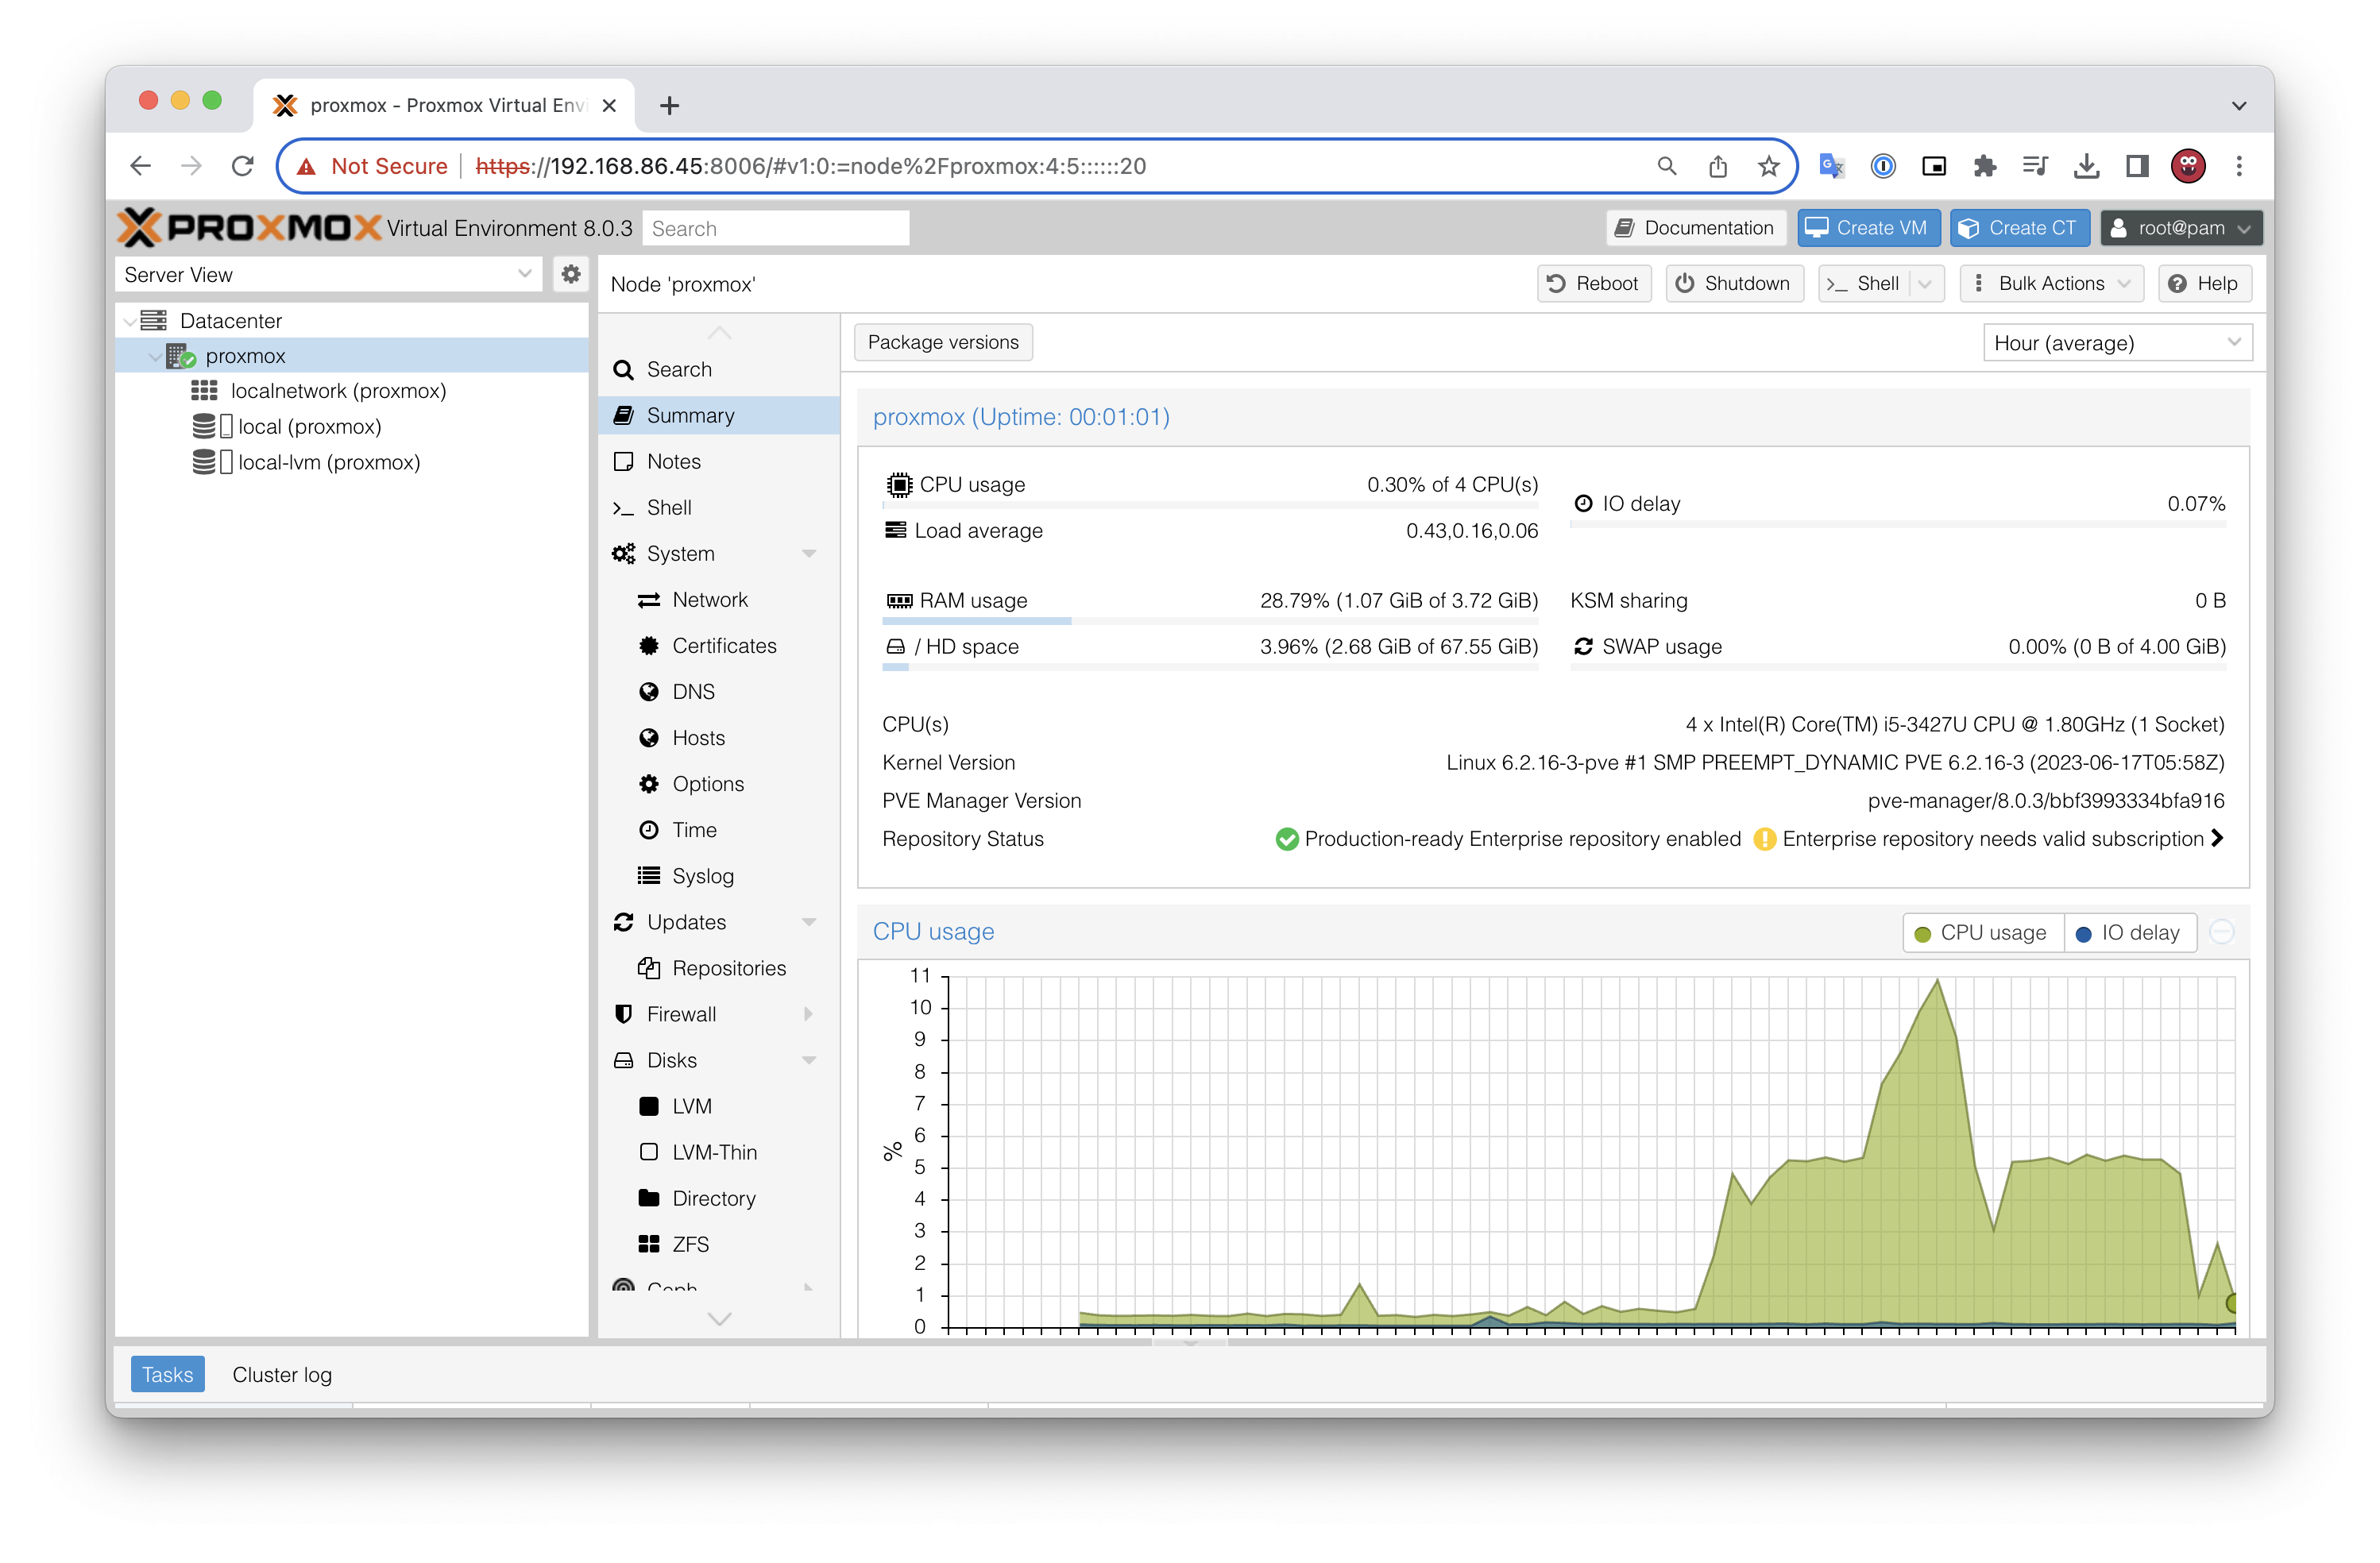
Once complete, you can login via shell with “root” and configured password, or via GUI on https://{ipaddress}:8006
Upload Images
In Proxmox you have 2 options - to create a VM or to create a Container. Depending on what you want to install, you need to upload a corresponding image to Proxmox Server.
If you want to run application containers, for example, Docker images, it is recommended that you run them inside a Proxmox QEMU VM. This will give you all the advantages of application containerization, while also providing the benefits that VMs offer, such as strong isolation from the host and the ability to live-migrate, which otherwise isn’t possible with containers.
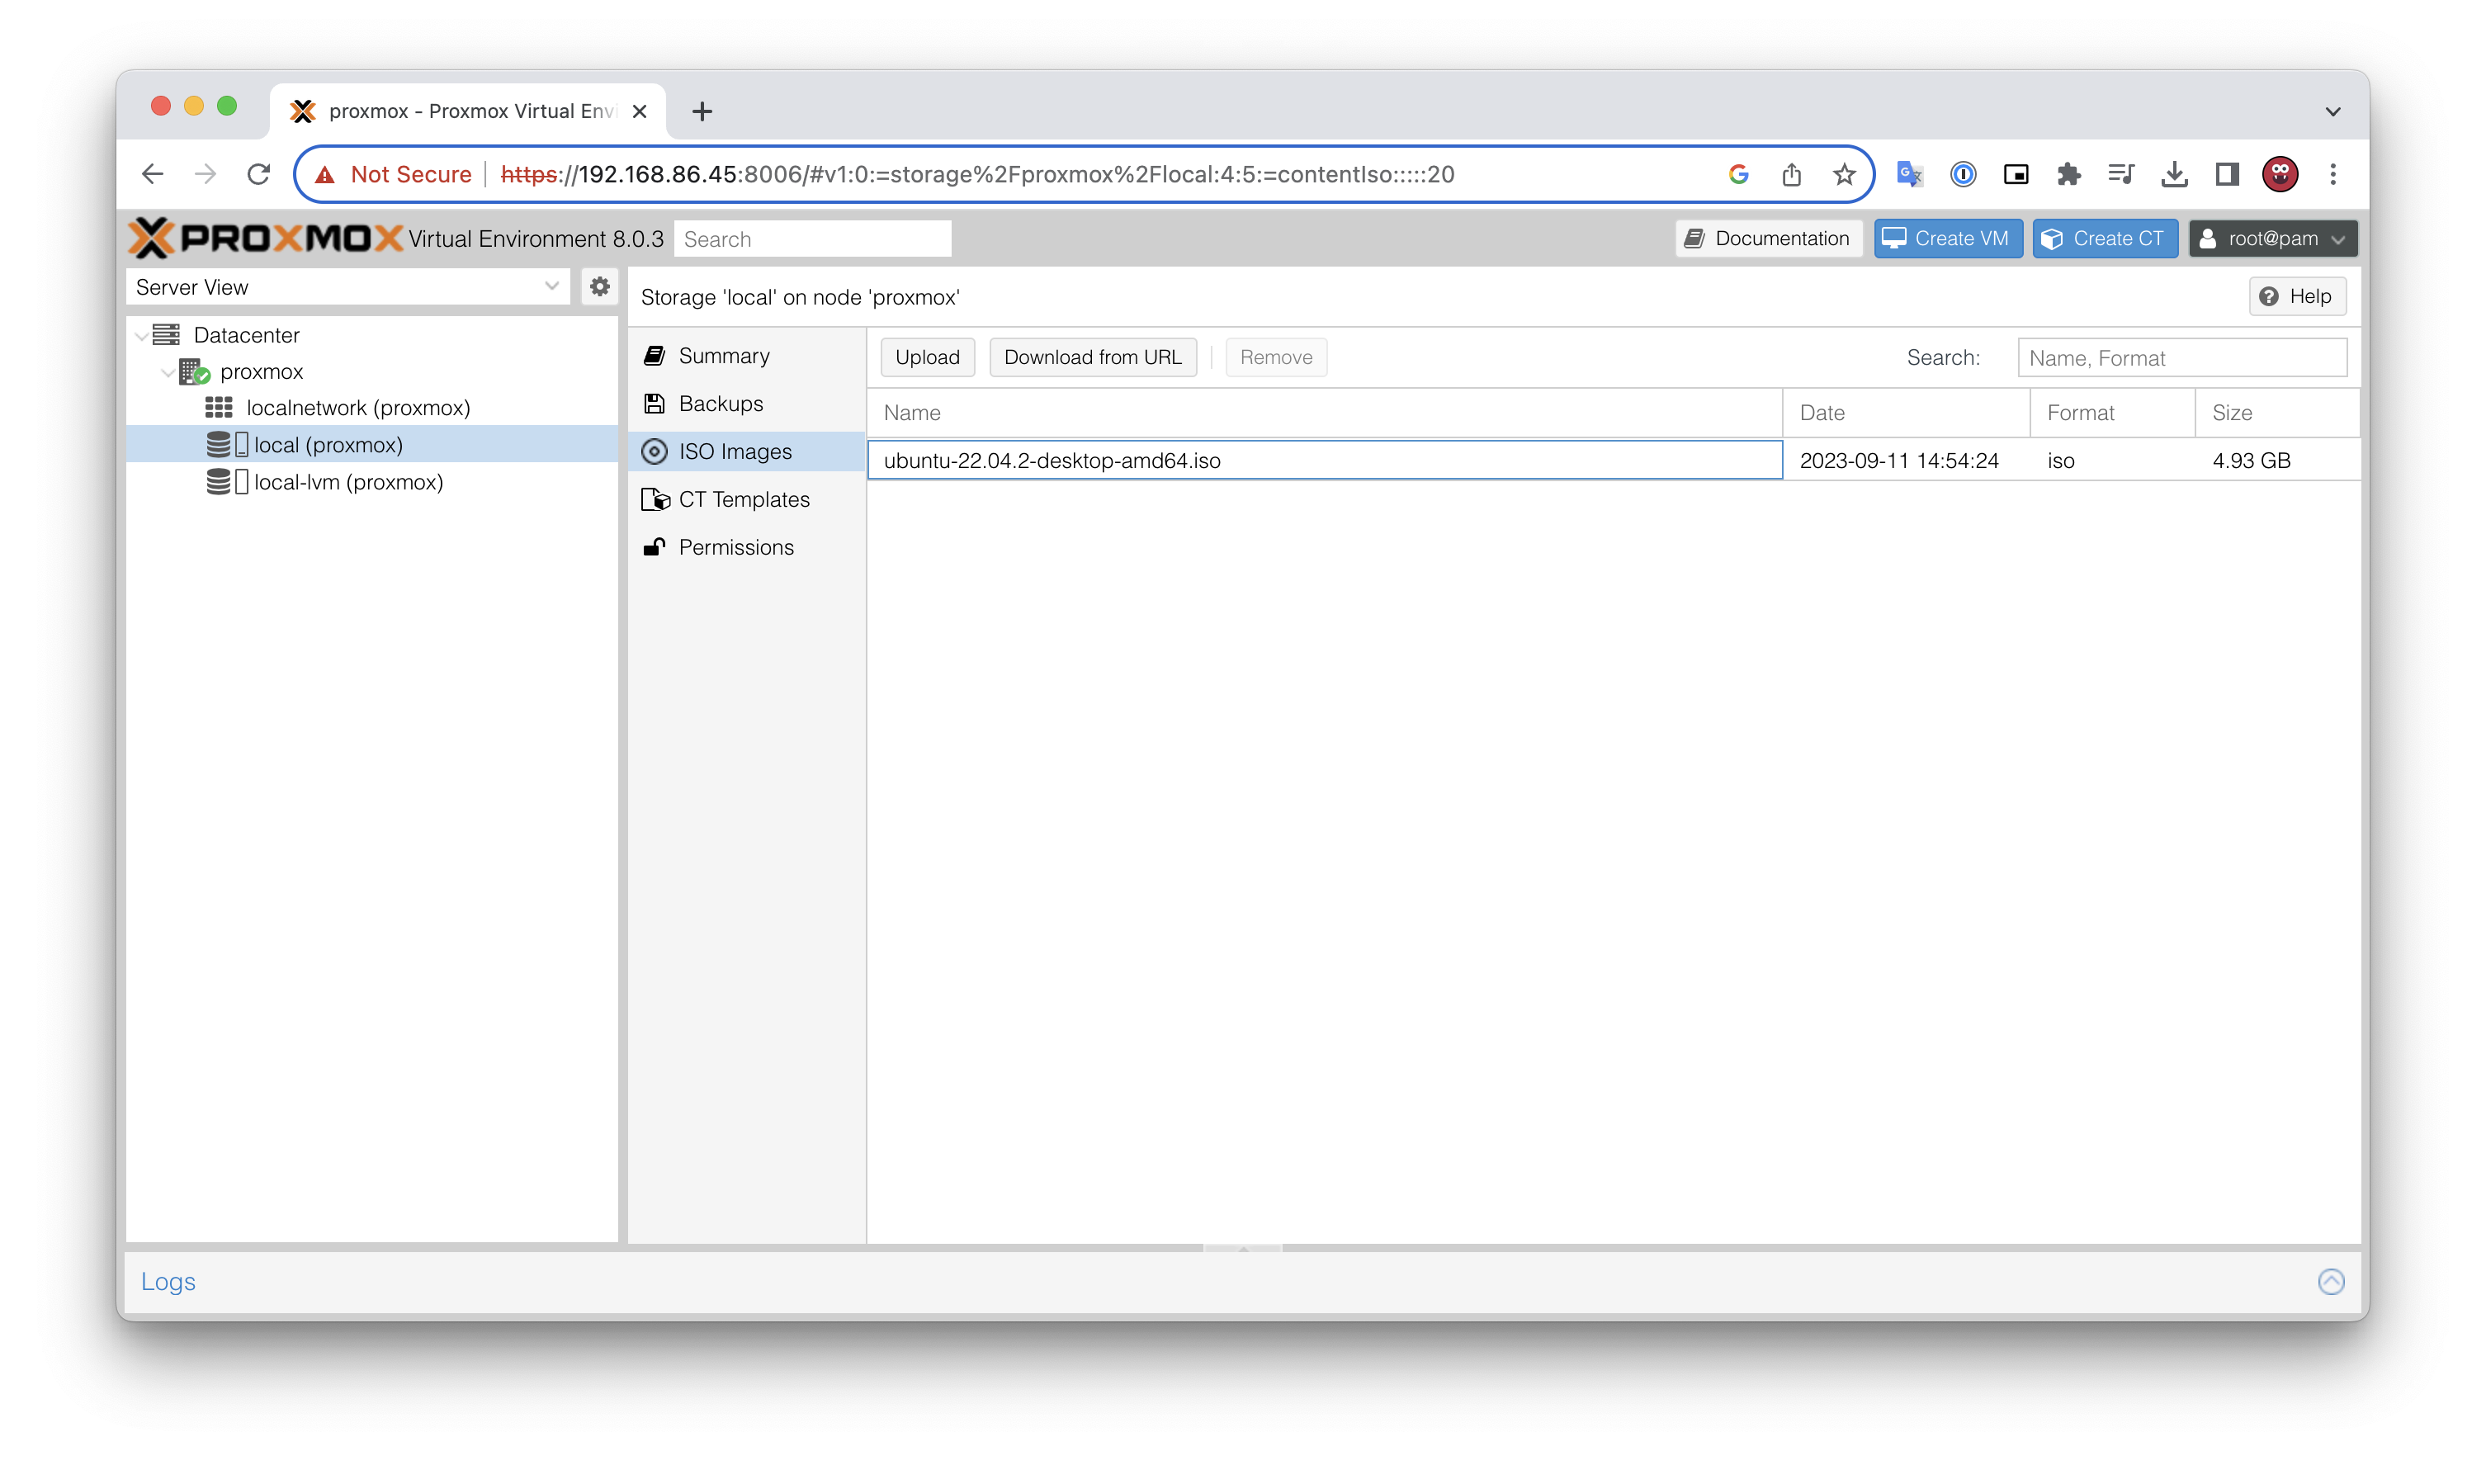
VM ISO Images
To upload ISO image -> Go to local (proxmox) storage -> ISO Images -> Upload
CT Templates
Open Shell. This can also be opened from the WebUI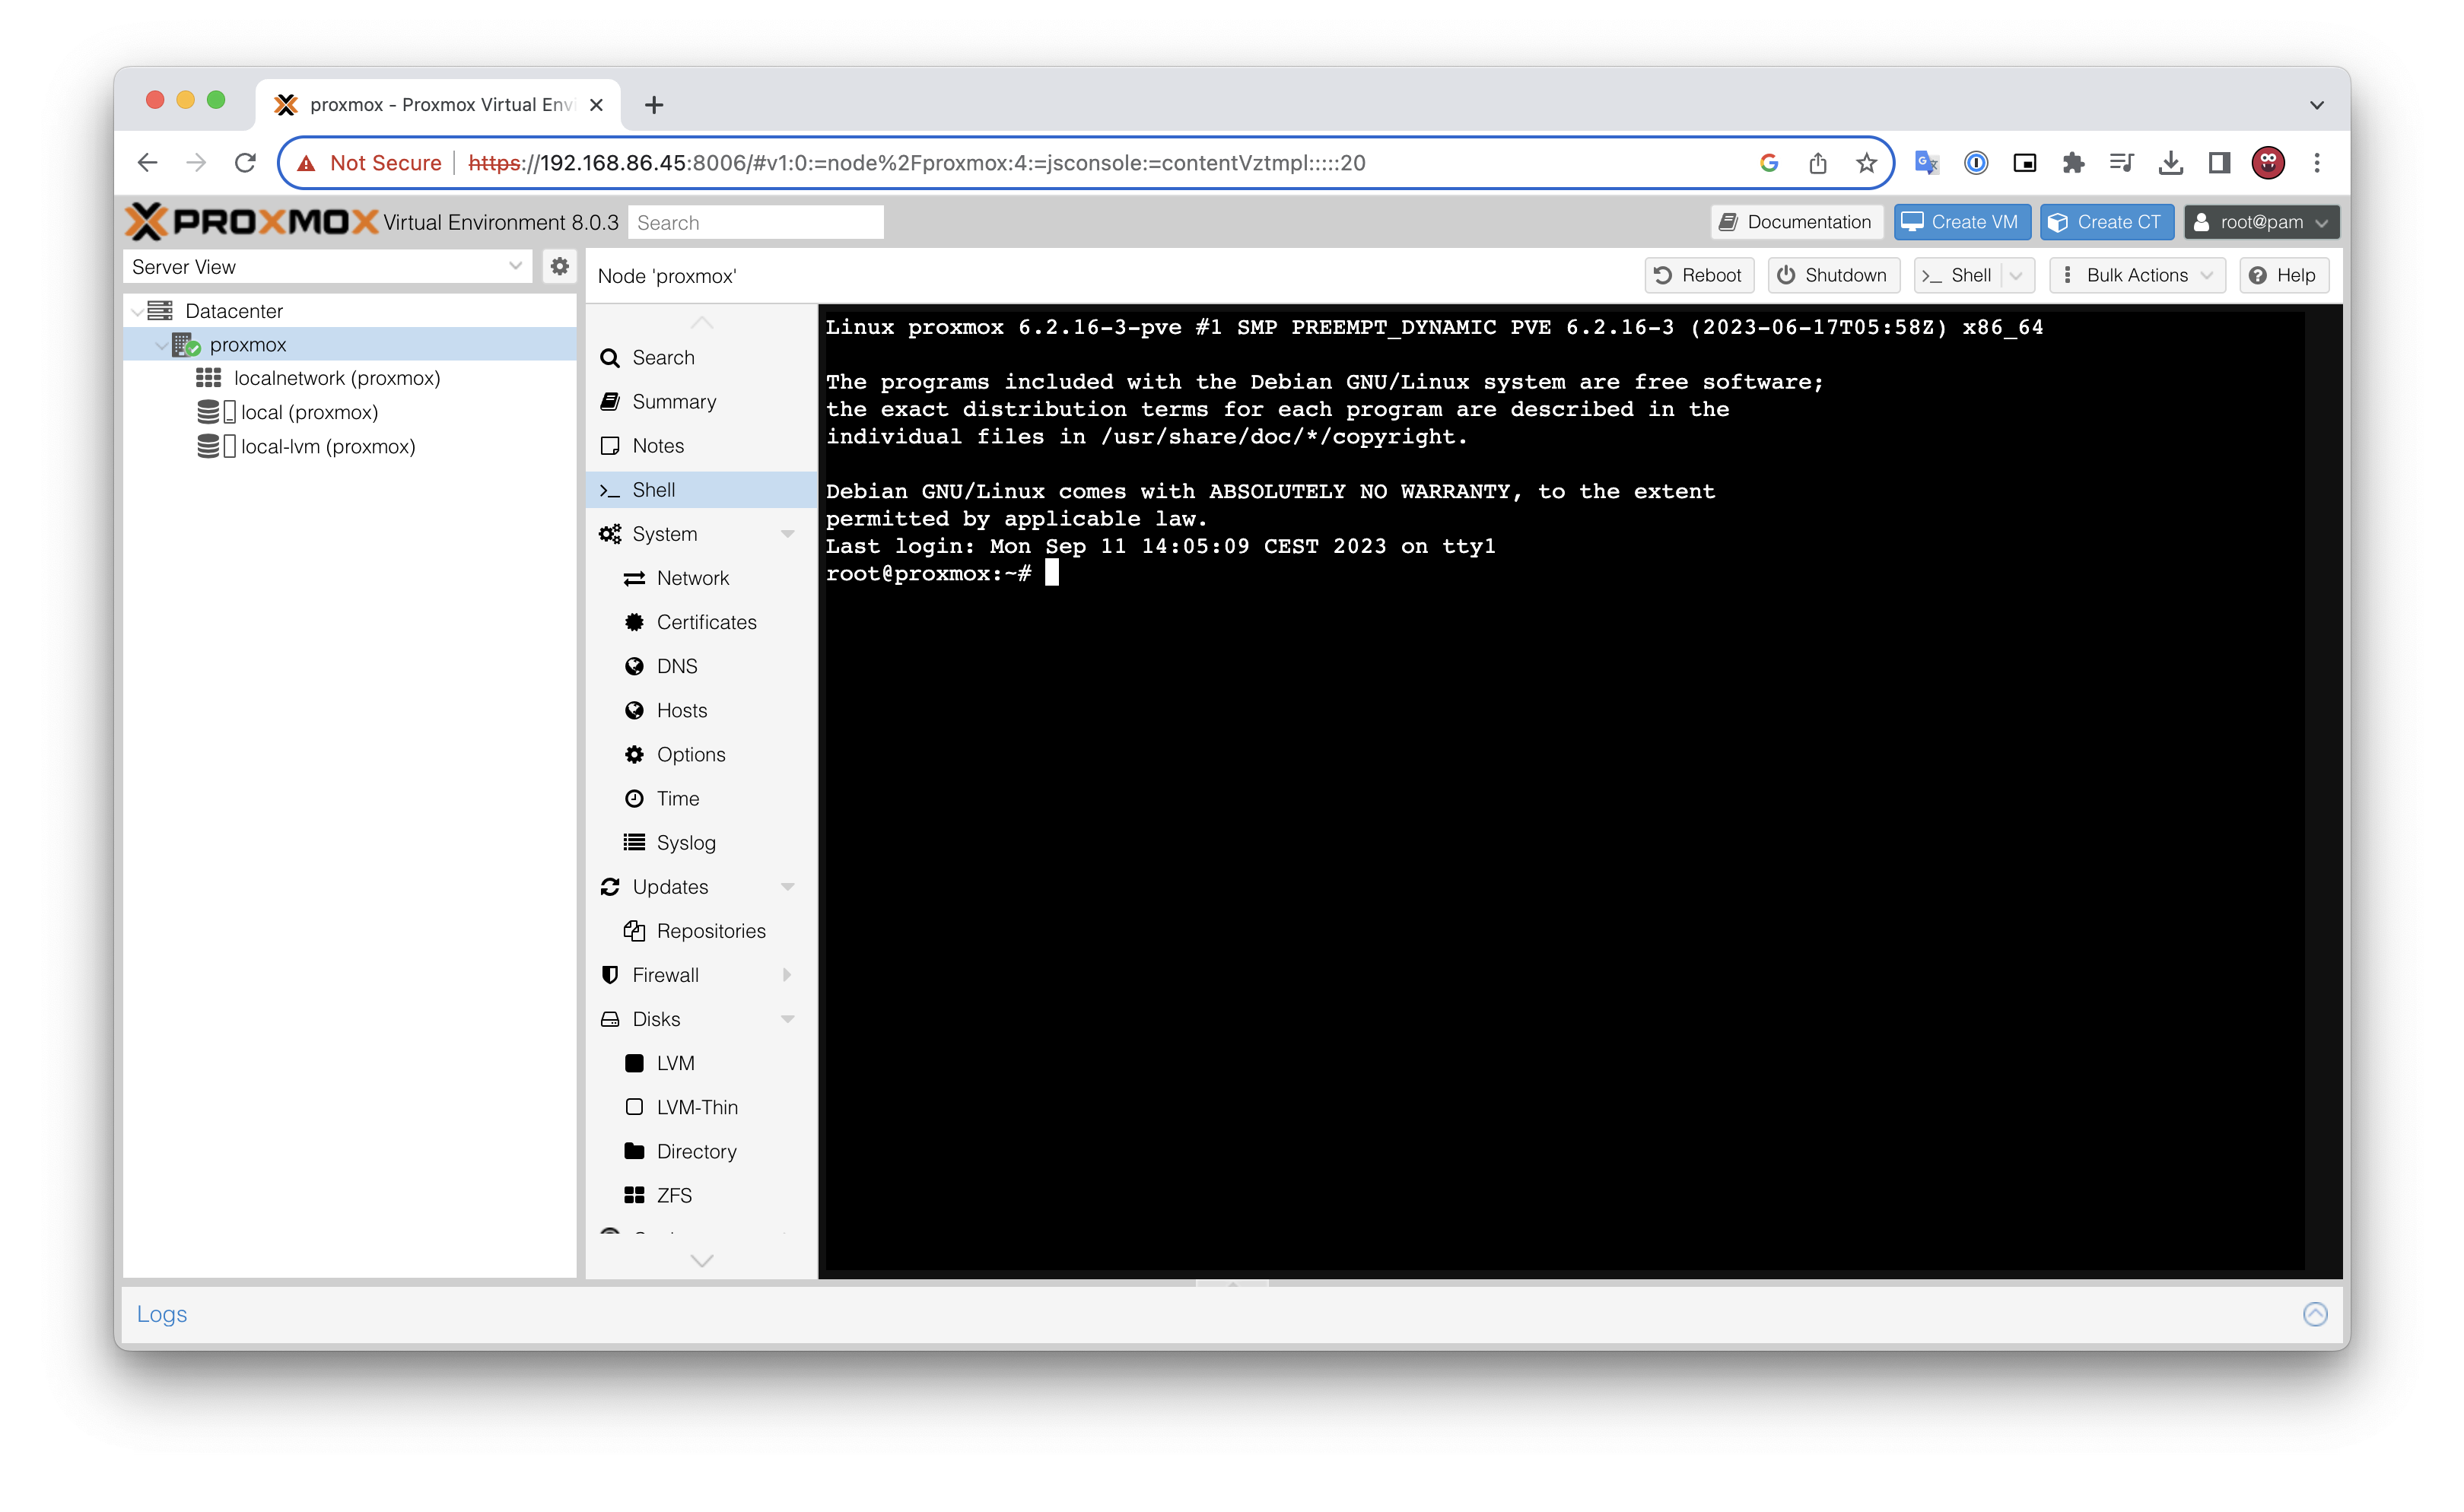
Check latest available Templates
1
2

pveam update
pveam available
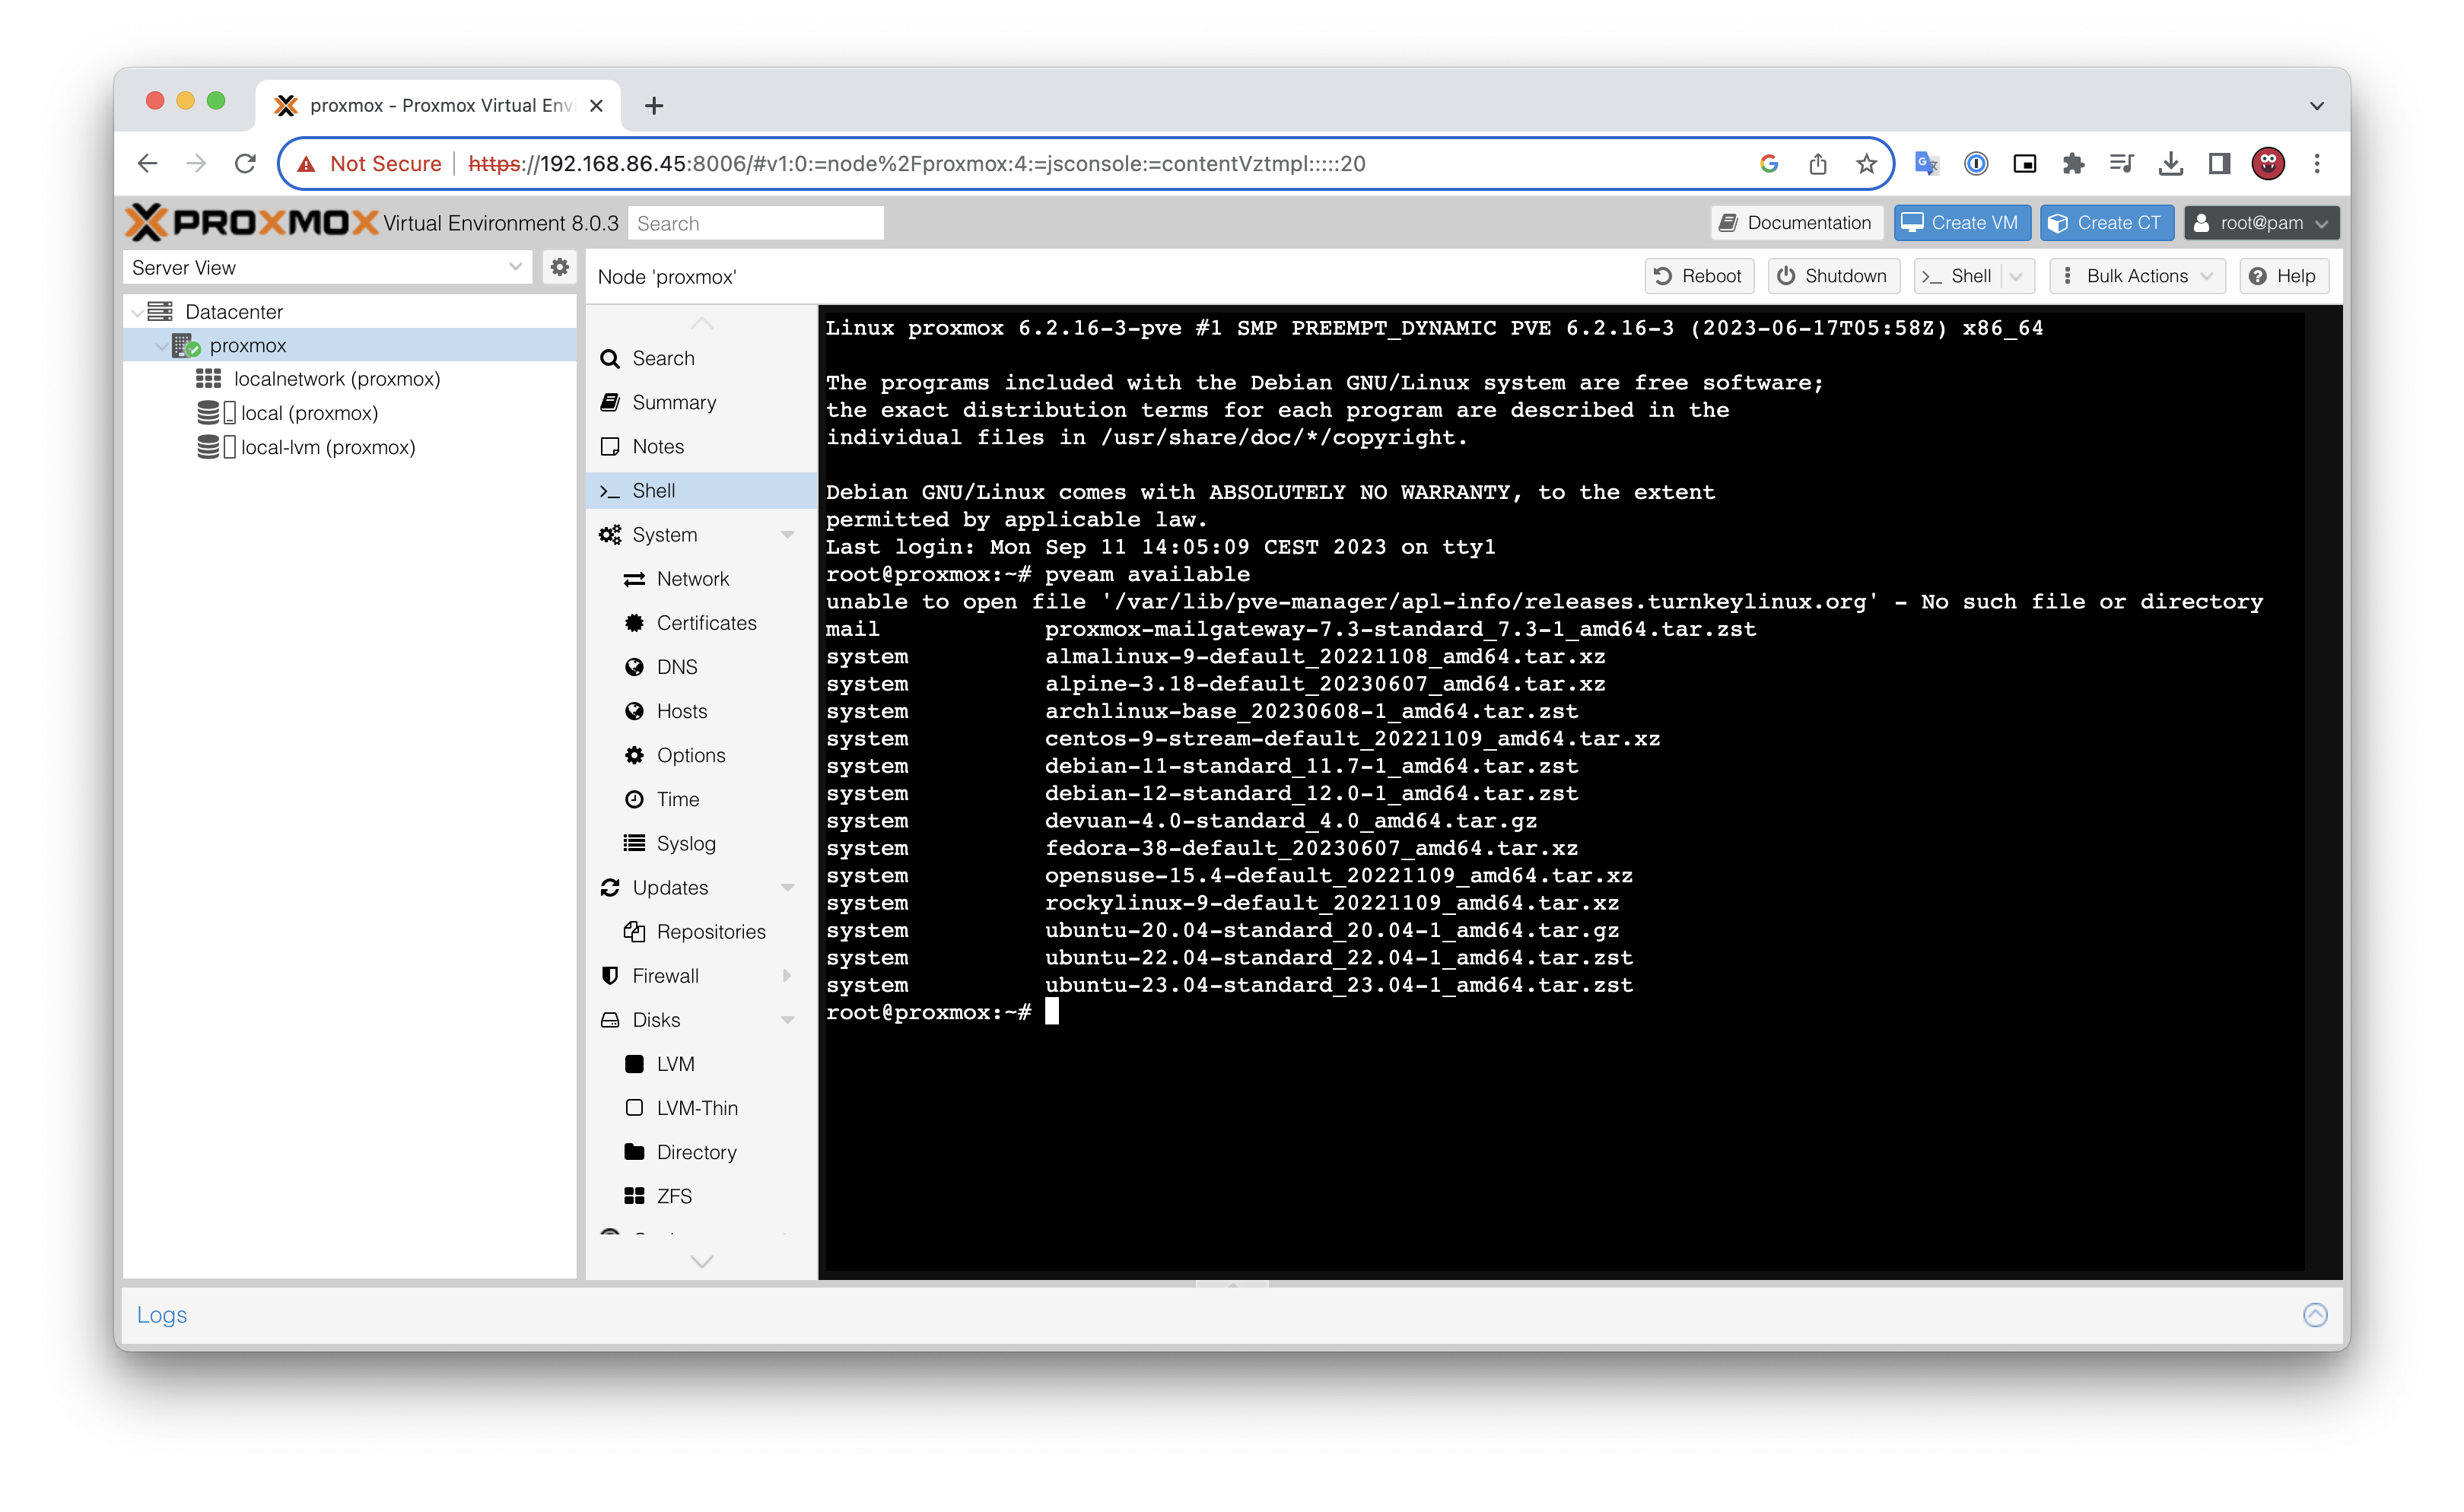
Download desired Template
1

pveam download local ubuntu-23.04-standard_23.04-1_amd64.tar.zst
Once Downloaded they will appear in WebUI -> Left hand side menu -> local (proxmox) -> CT Templates
Install VM
Spinning up a VM is very simple.
Click “Create a VM”. Set the hostname and the rest of the settings can be left as default. Now you have a VM running.

This was an installation of OS only, however, Proxmox also offers various TurnKey Linux. These are pre-configured and ready to use CT Template based on Debian Linux, that makes it eaiser to deploy specific software service without extensive manual setup. To see available options, check CT Templates with pveam available.
Comments powered by Disqus.