

Introduction
Hosting a Jekyll website on AWS S3 is a cost-effective and reliable way to deploy a static website.
[Good to know vocabulary]
S3 Bucket: storage container provided by AWS
[Links]
Homepage: https://aws.amazon.com/
0. Prerequisites
- Sign up for AWS Account
- Jekyll website ready for deployment
1. (Can Skip) Create an S3 Bucket
In this section I will manually coinfigure S3 Bucket, however, this step can be skipped and configured automatically with s3_website_revived tool later.
Login to AWS -> Go to S3 Console -> Create Bucket

- Add Bucket name (Bucket names can consist only of lowercase letters, numbers, “ . “ and “ - “)
- Select Region close to you
Once Bucket is created -> Open Bucket -> Permission -> Edit Block public access (bucket settings)

S3 Bucket is now ready to use.
Create API credentials in AWS
Go to AWS IAM console -> Users -> Add Users -> Create a new user and grant permissions to the S3 and CloudFront services

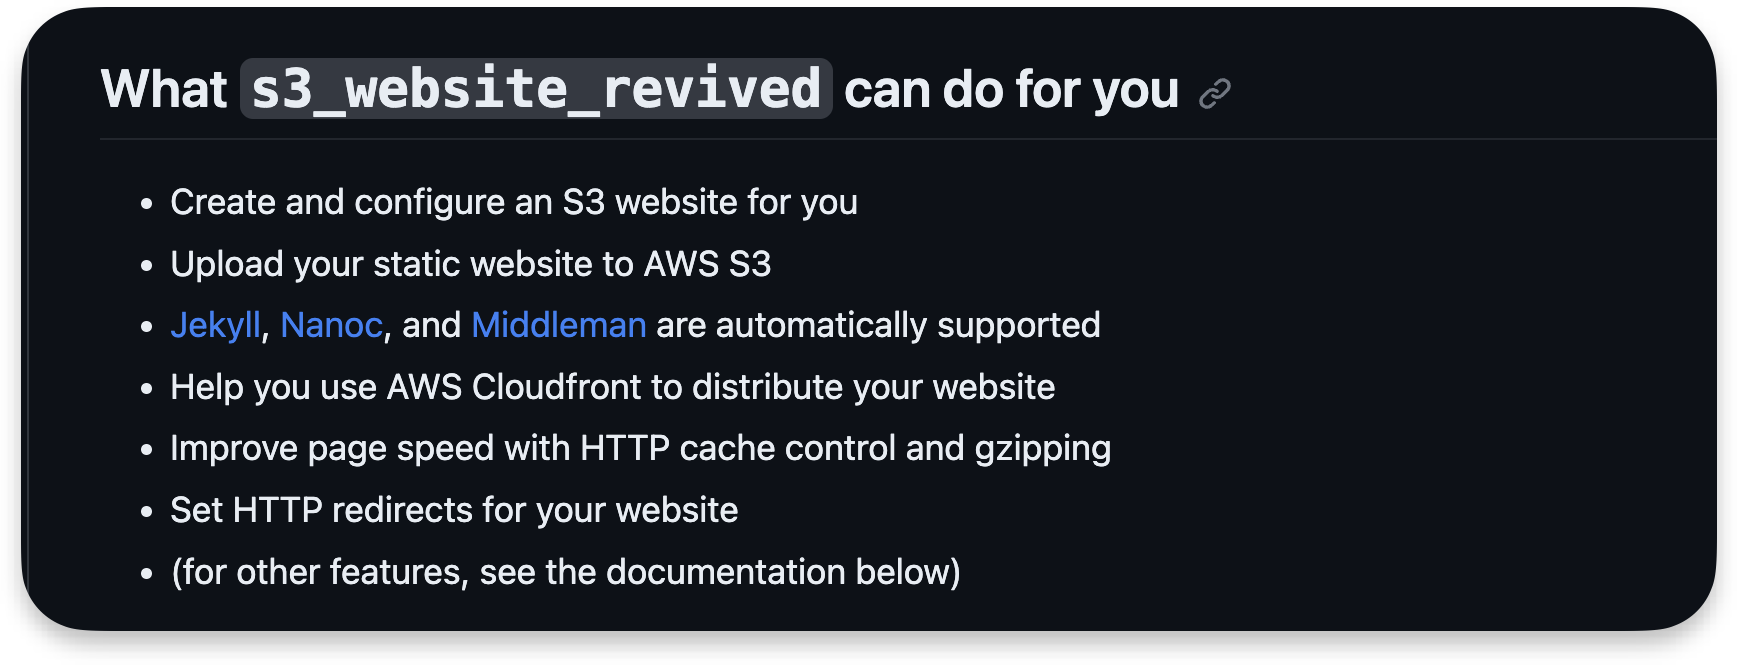
Install S3_website
The easiest way to configure Jekyll is to use this great s3_website_revivid gem
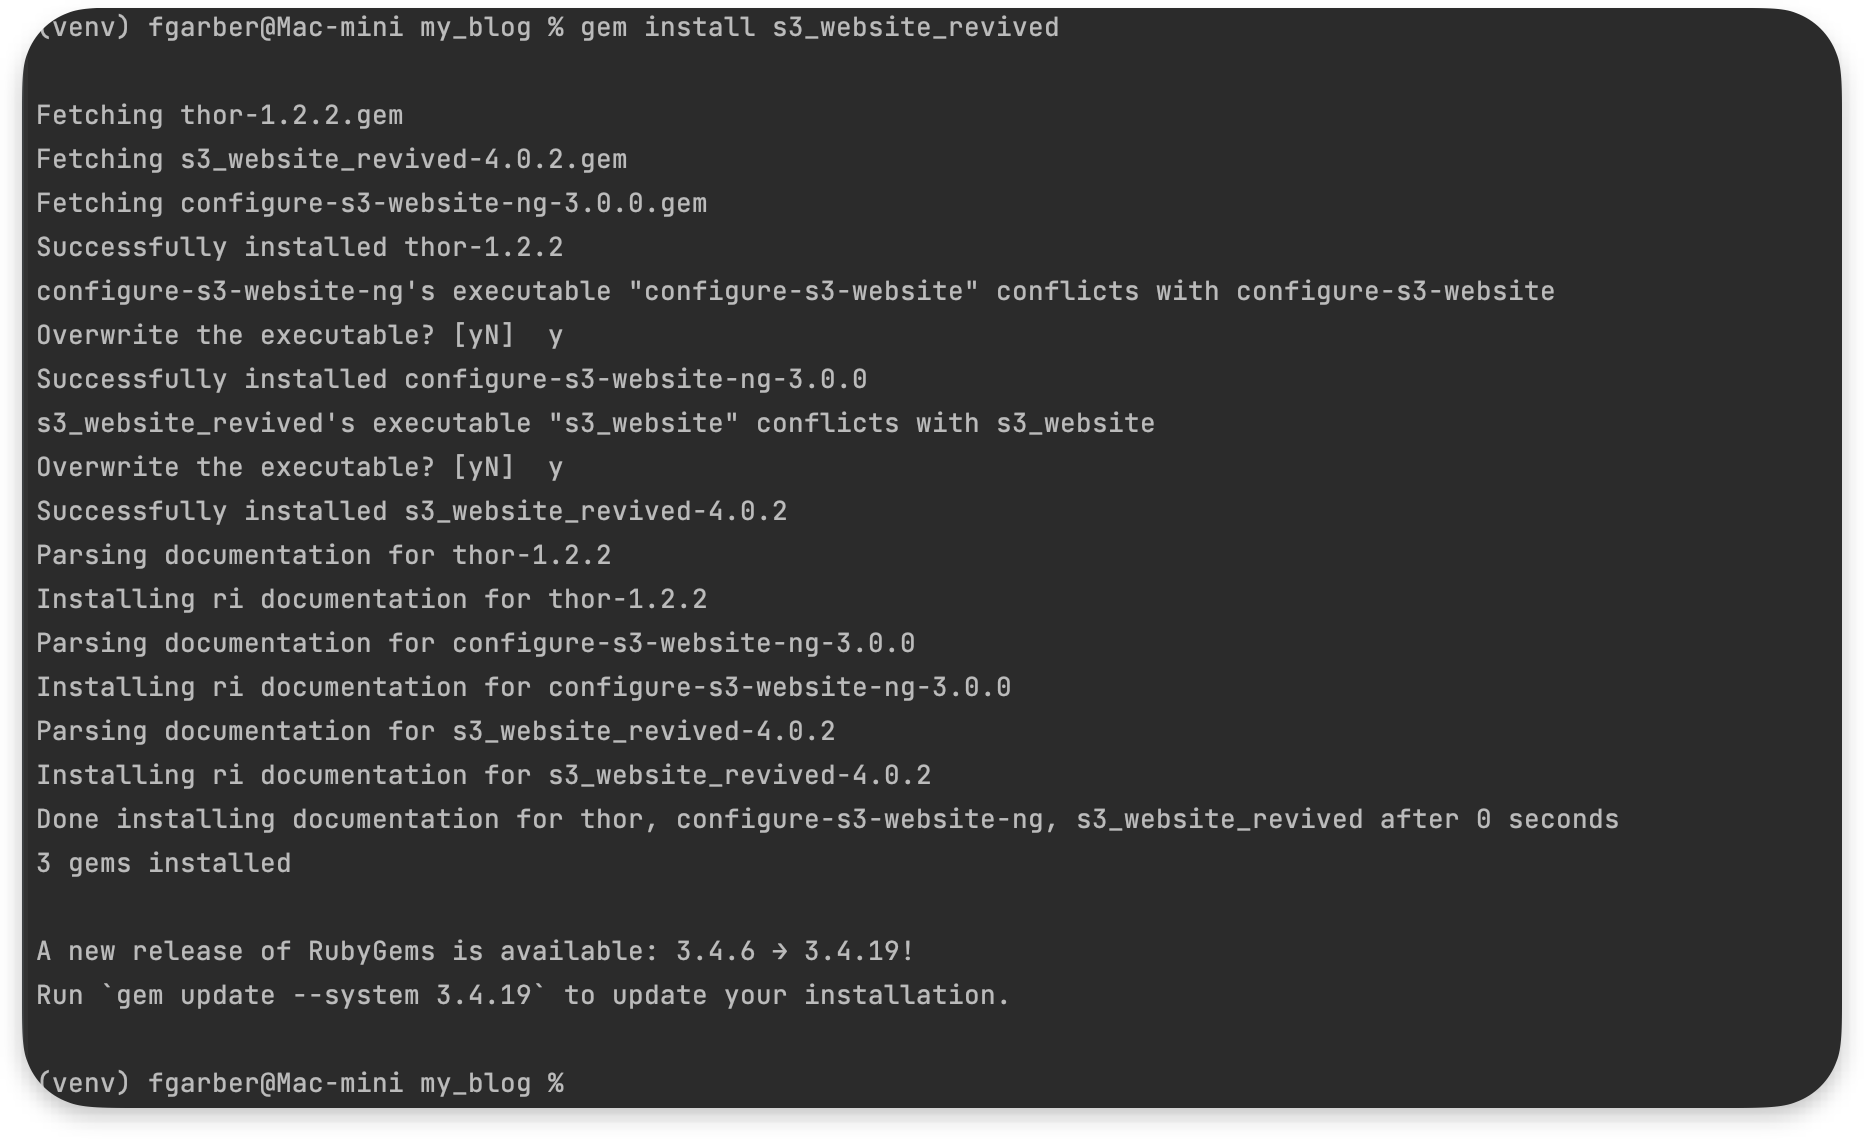
1

gem install s3_website_revived
Check s3_website command is available and if it’s not check the Ruby gem bin directory is included in the PATH, by modifying zshrc file (if using zsh).
1

nano ~/.zshrc
Add the following line
1

export PATH="$PATH:$(ruby -e 'puts Gem.user_dir')/bin"
Save the file, exit, and reload shell profile
1

source ~/.zshrc
To verify that the s3_website directory is in PATH
1

echo $PATH
Configure S3_website
Generate configuration file in jekyll website directory. This will create “s3_website.yml”
1

s3_website cfg create

Edit s3_website.yml
1
2
3
4

- your AWS credentials   # or remove the first two lines to have credentials read from the environment variables AWS_ACCESS_KEY_ID and AWS_SECRET_ACCESS_KEY
- S3 bucket name
- s3_endpoint: eu-central-1   # specify s3 location close to you. Can check available values here https://docs.aws.amazon.com/general/latest/gr/rande.html#s3_region
- site: # S3_website will automatically discover websites in the *_site* and *public/output* directories
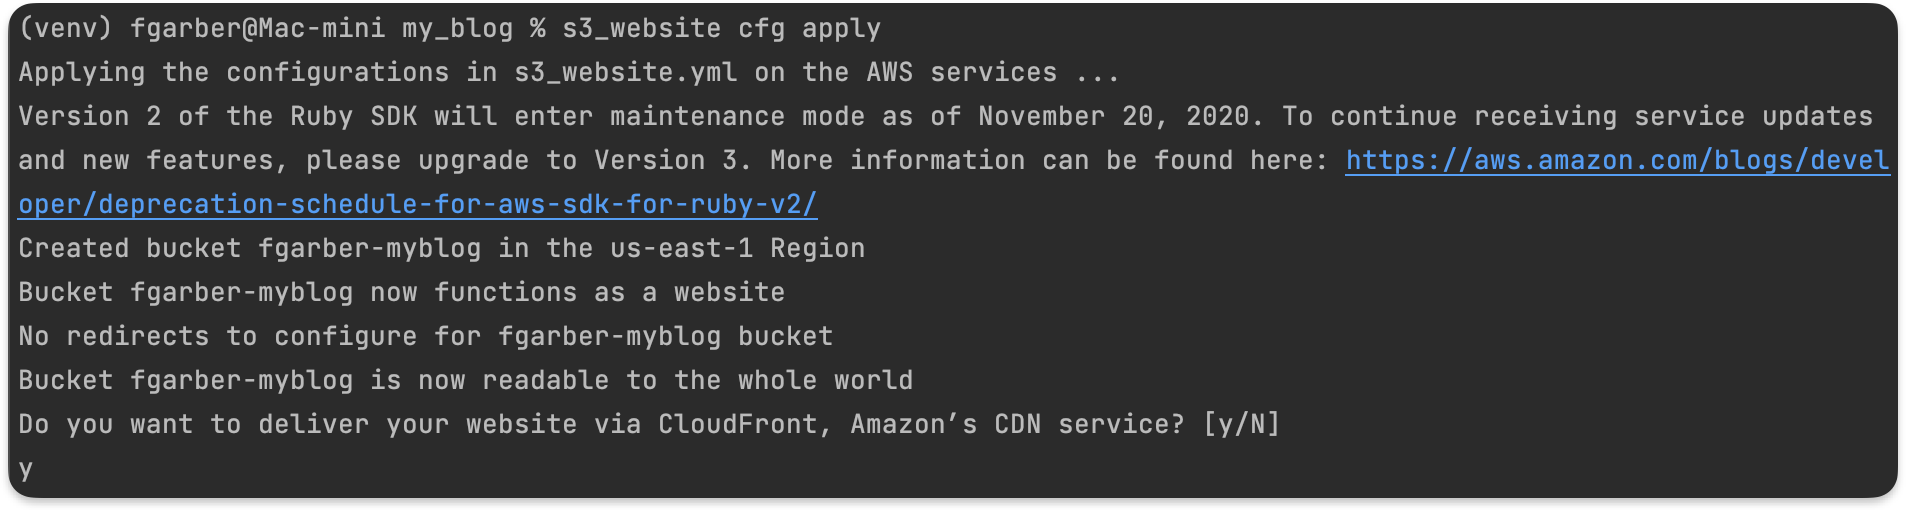
Run the command to configure bucket to function as an S3 website. If the bucket does not exist, the command will create it for you.
1

s3_website cfg apply
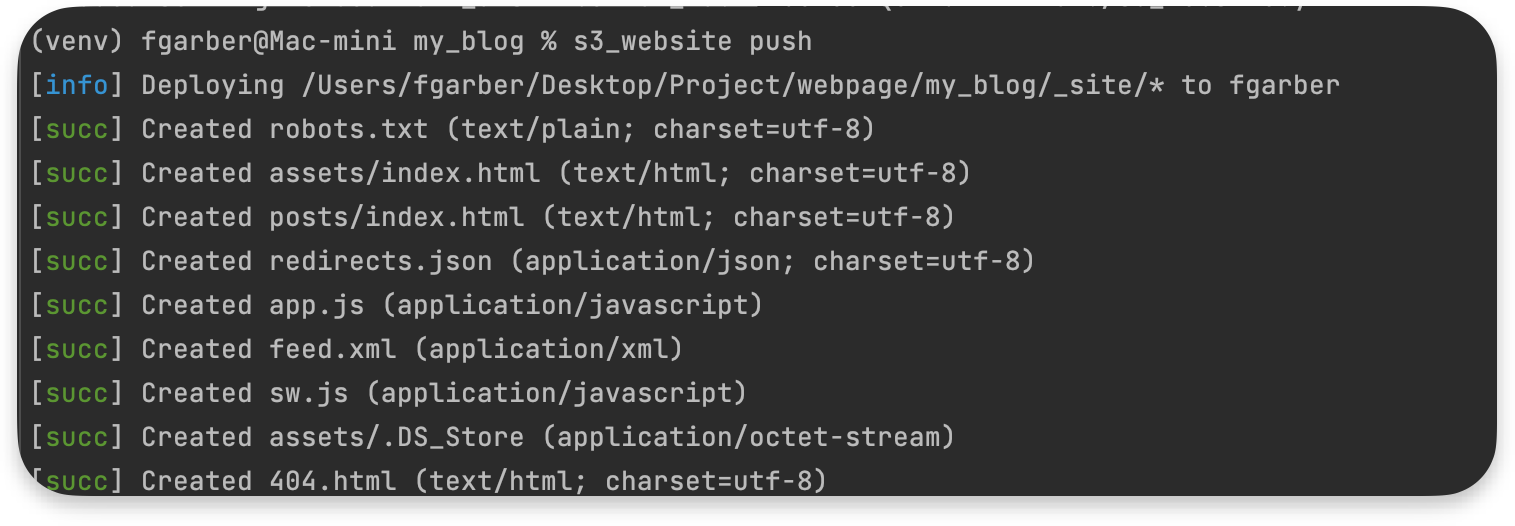
As a last step, push your website to S3
1

s3_website push
The Site is now created in AWS and publicly available.
Update S3_website content
To push updates to the S3 hosted webiste, rebuild the jekyll site locally and run s3_website push again
1
2

jekyll build
s3_website push
Comments powered by Disqus.